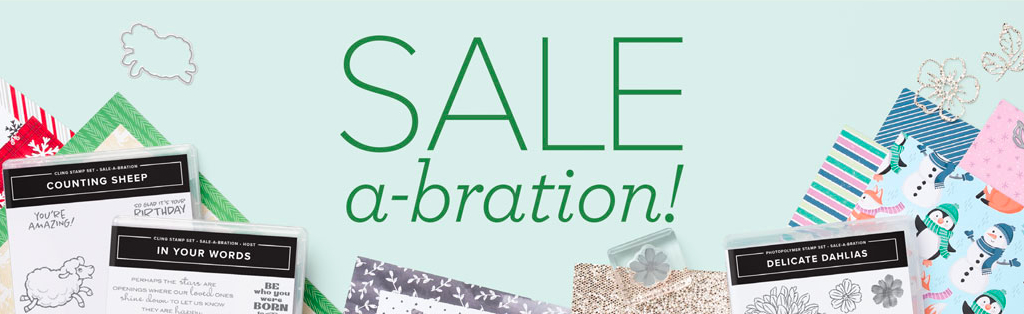
Get free Stampin’ Up! Goodies with Sale-A-Bration

Get free Stampin’ Up! Goodies with Sale-A-Bration
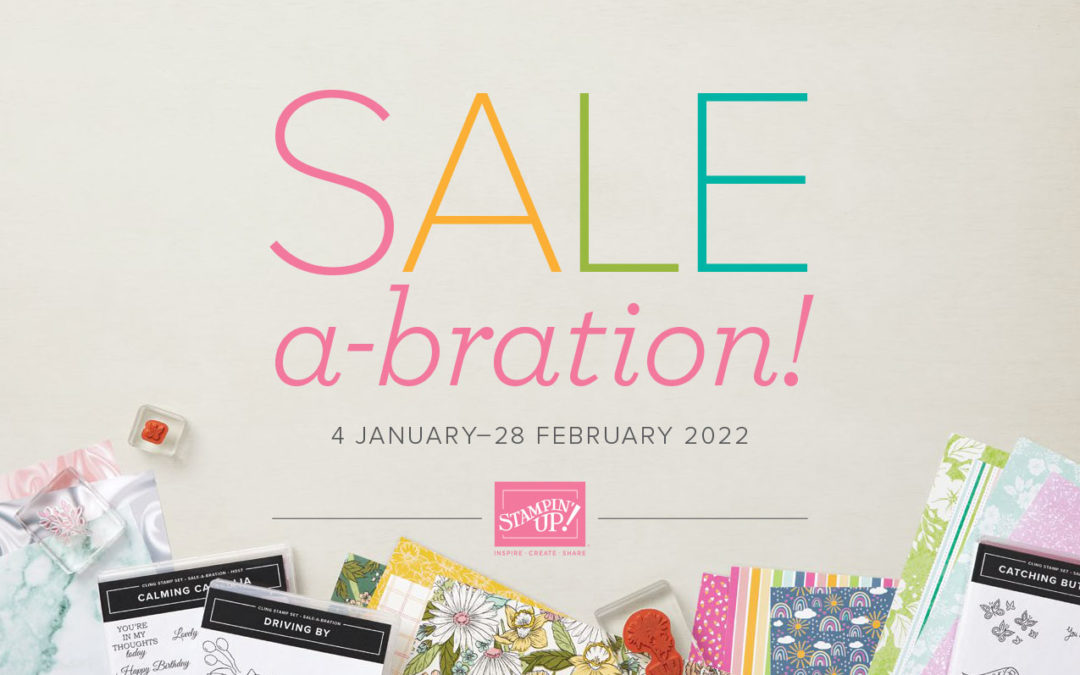
The Sale-a-bration promotion from Stampin’ Up! is back! It’s their best promotion in my opinion because you can earn exclusive products for free. This year we are getting spoiled again because it will be offered twice. This is the first Sale-A-Bration in 2022 and it runs from January 4 to February 28, 2022.
Let me explain how Sale-A-Bration works and we’ll take a look at the free products being offered during the promotion.
How Sale-A-Bration works
For every $60 and $120 you spend on ANY Stampin’ Up! product, you’ll earn an exclusive Sale-A-Bration item for free! Depending on the amount you spend, you’ll be able to mix ‘n’ match the Sale-A-Bration items you earn.
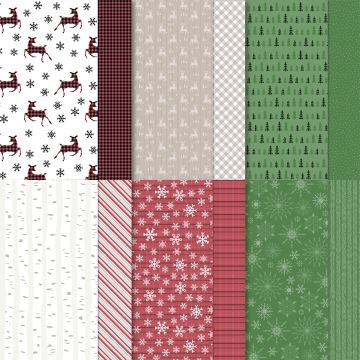
Free with $60 purchase
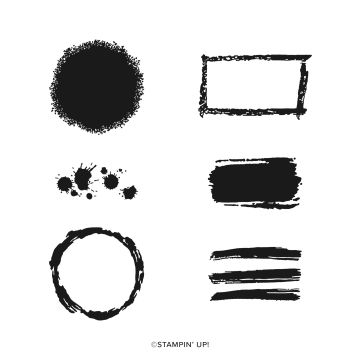
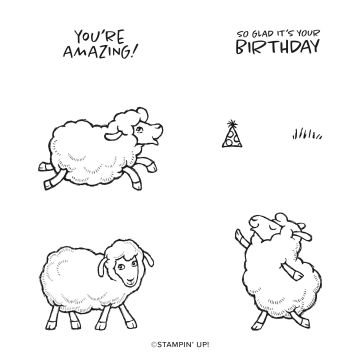
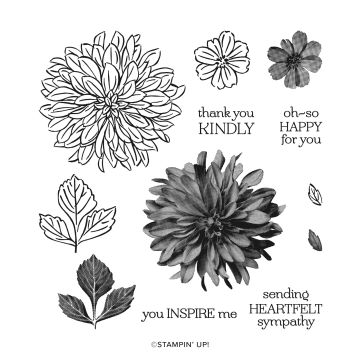
When you spend $60 or more, you can select one of these items for free:
 | ||

")
")


")
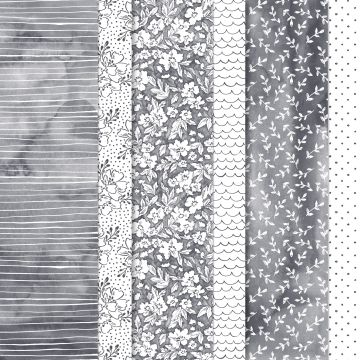
Free with $120 purchase
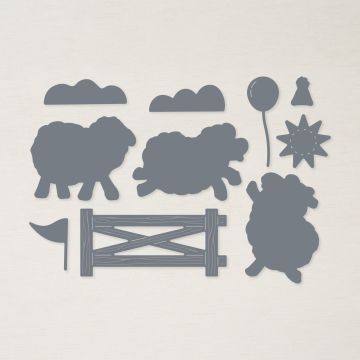
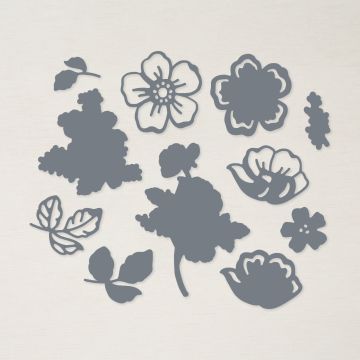
When you spend $120 or more, you can select one of these items for free:
")
")
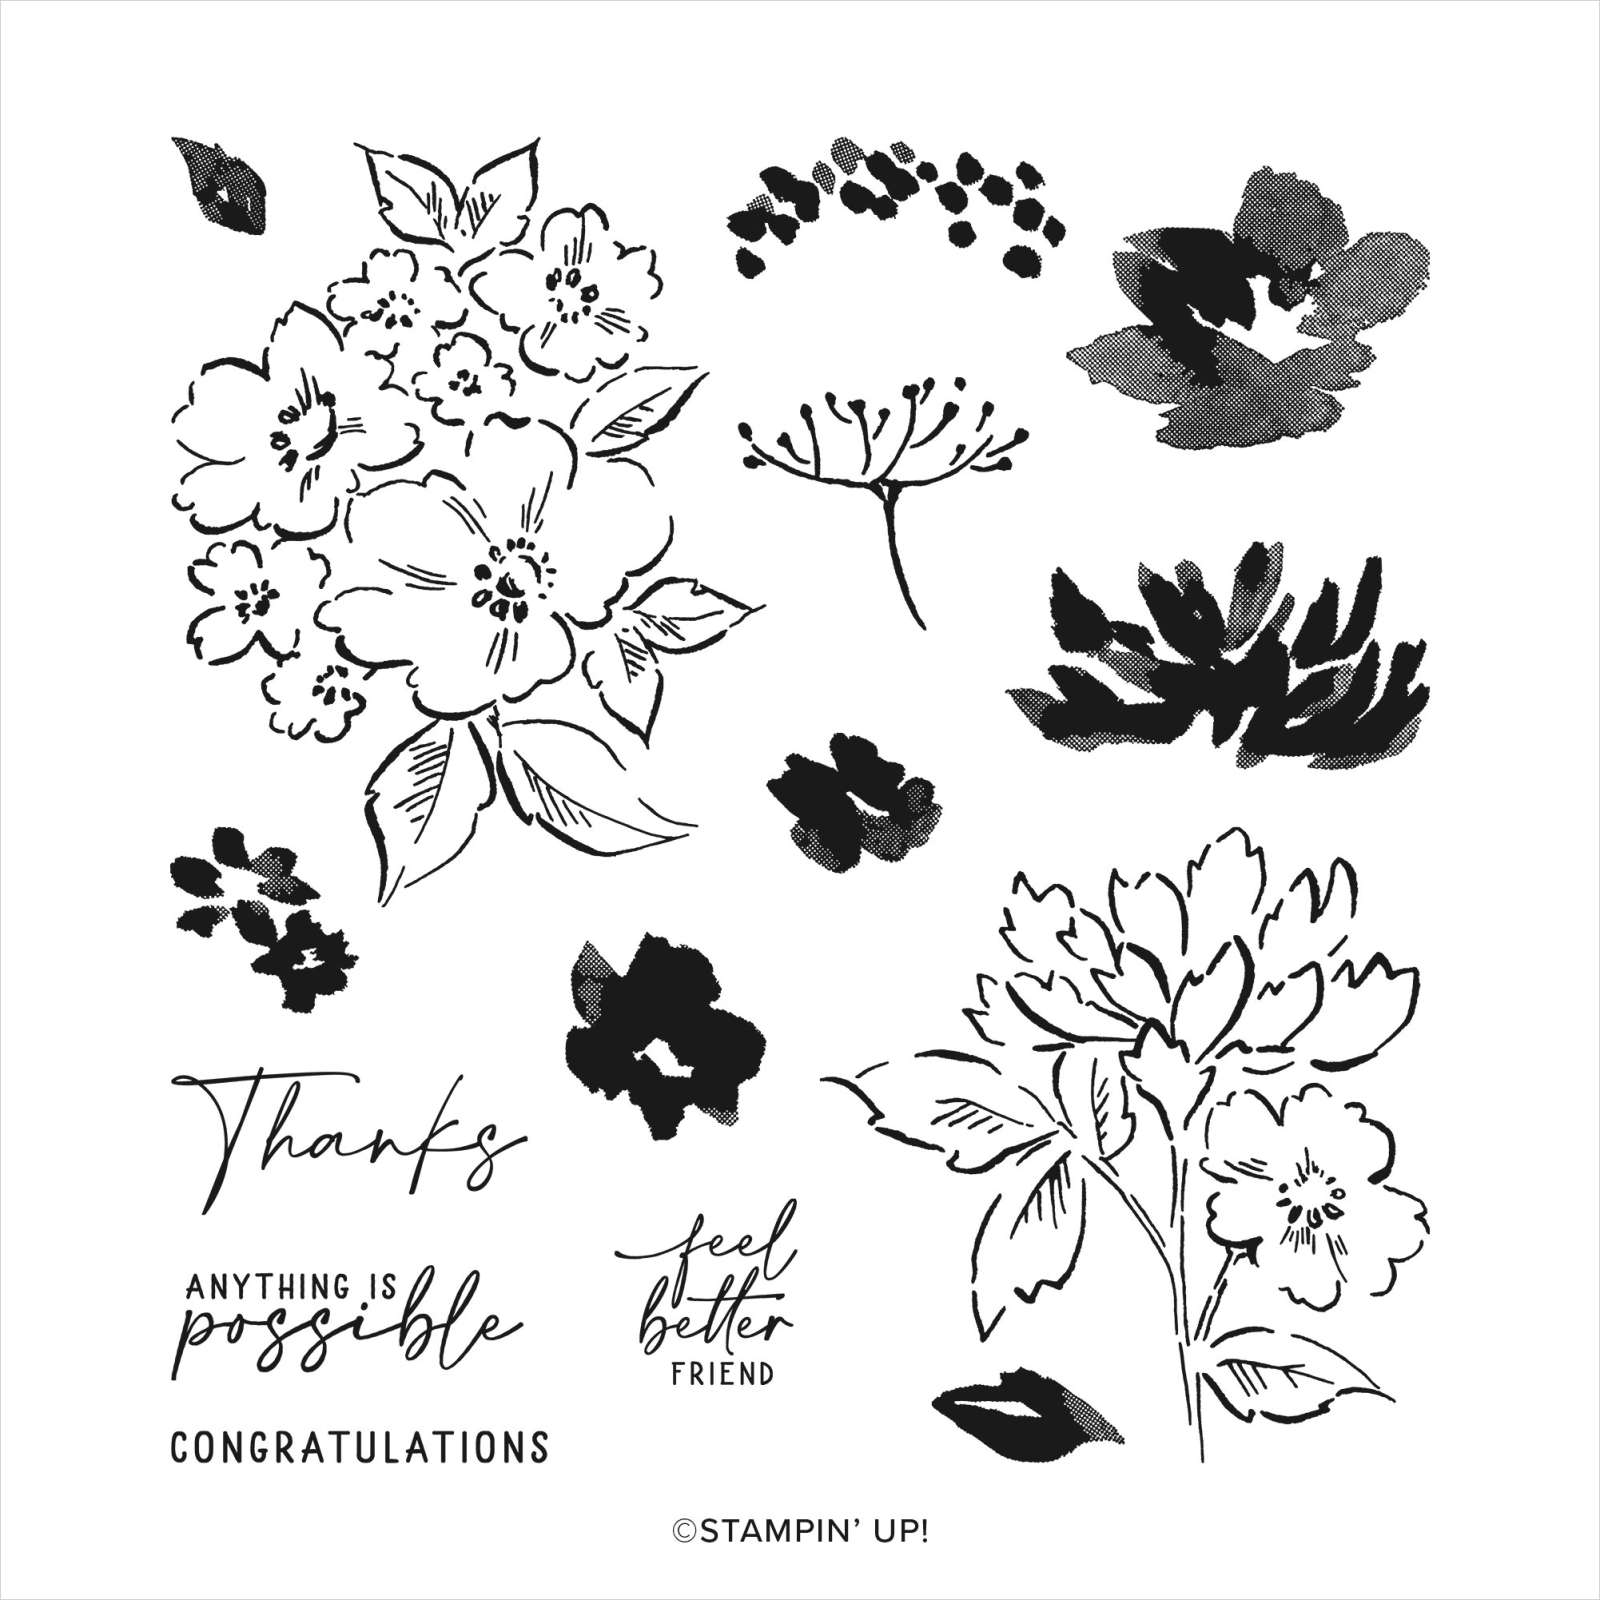
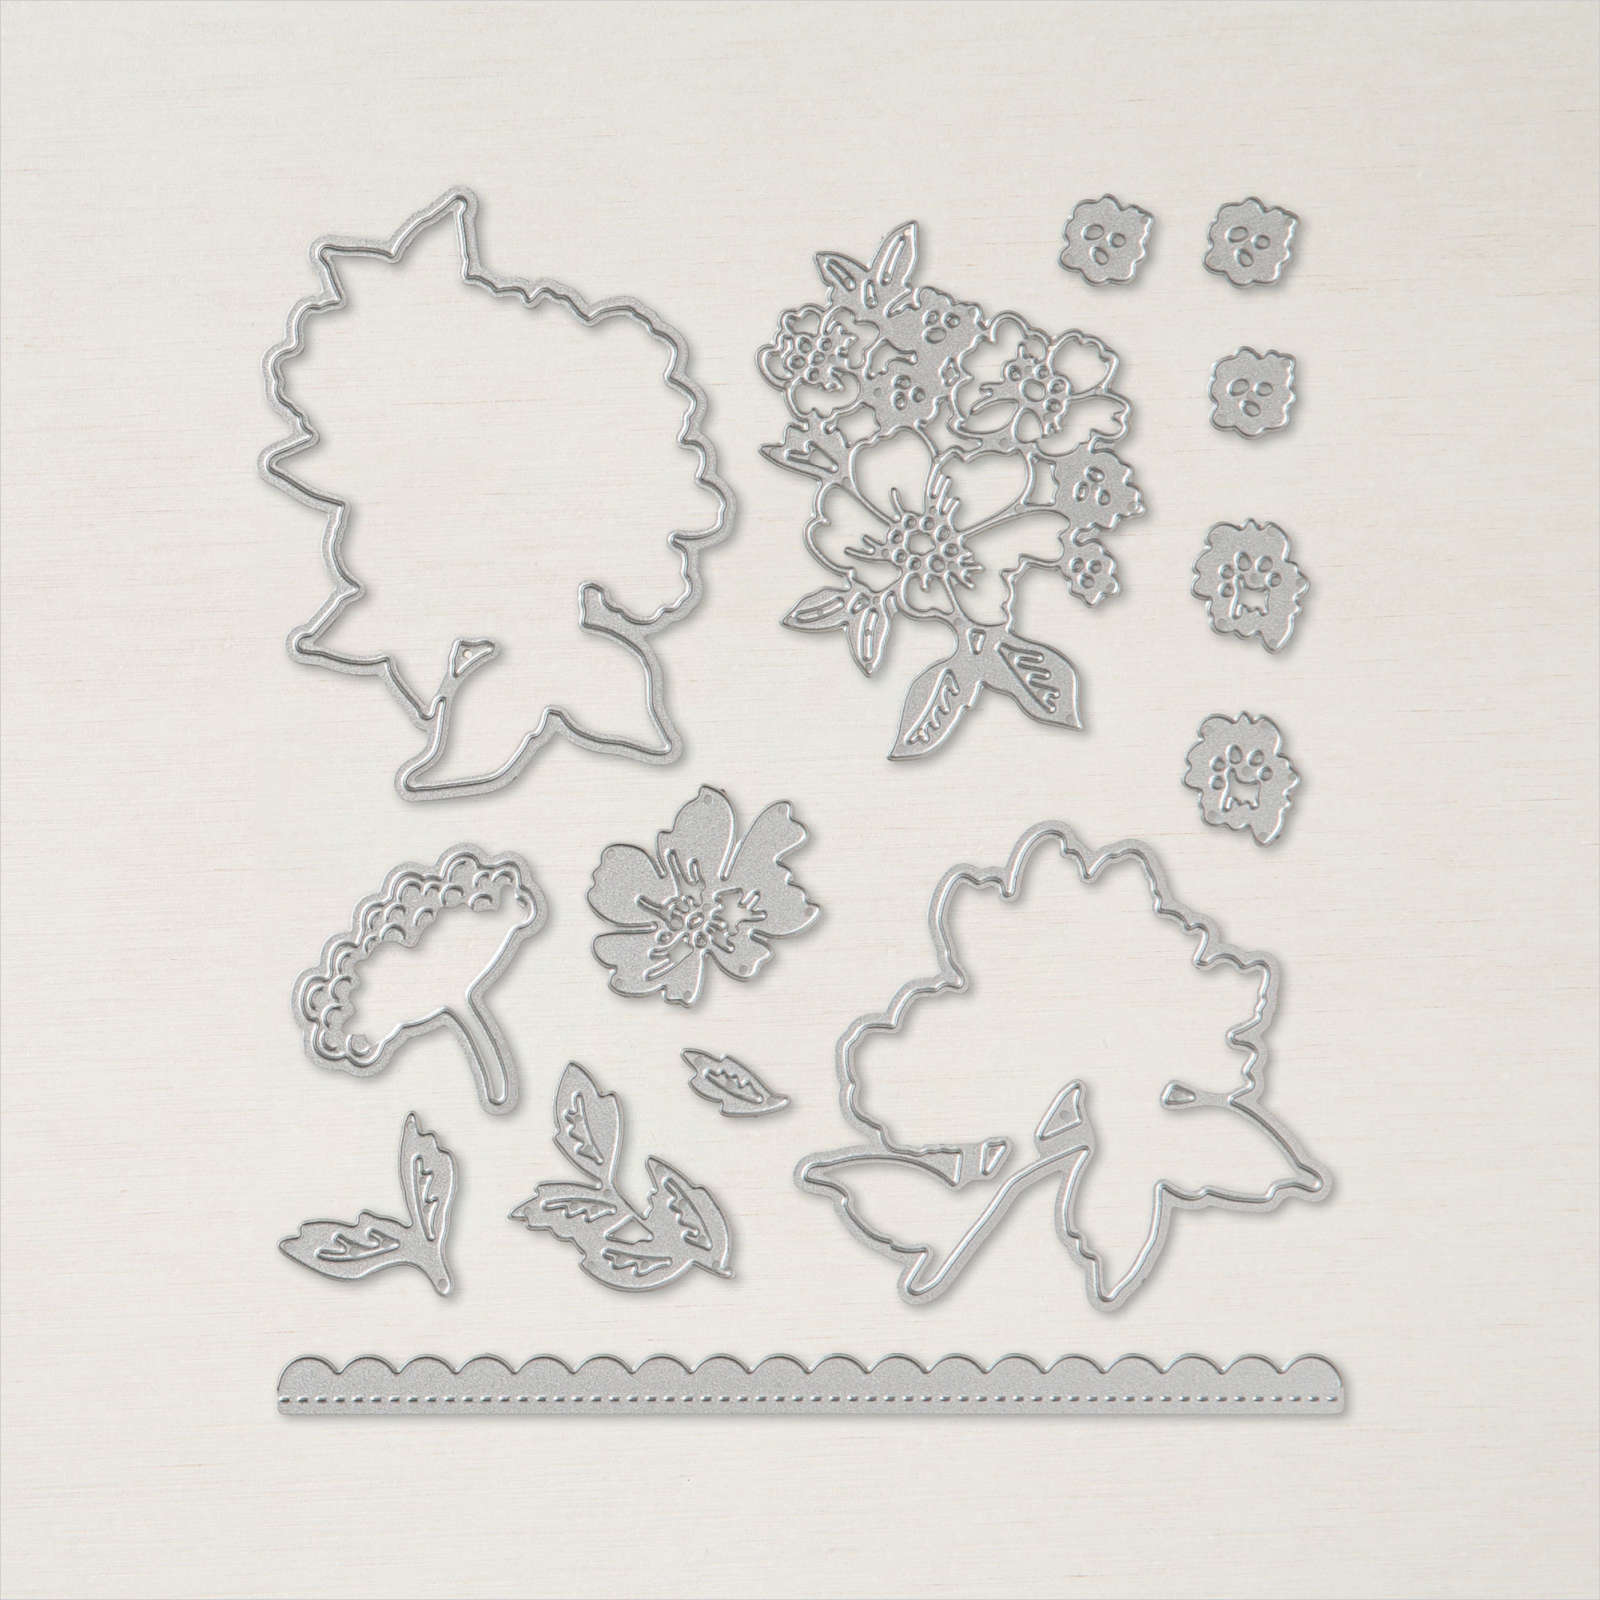
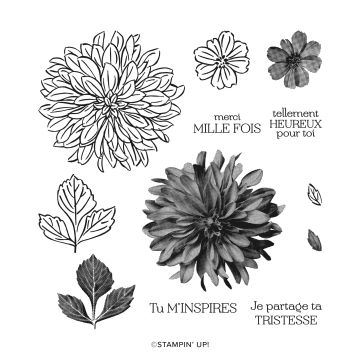
Sale-A-Bration HOST stamp set
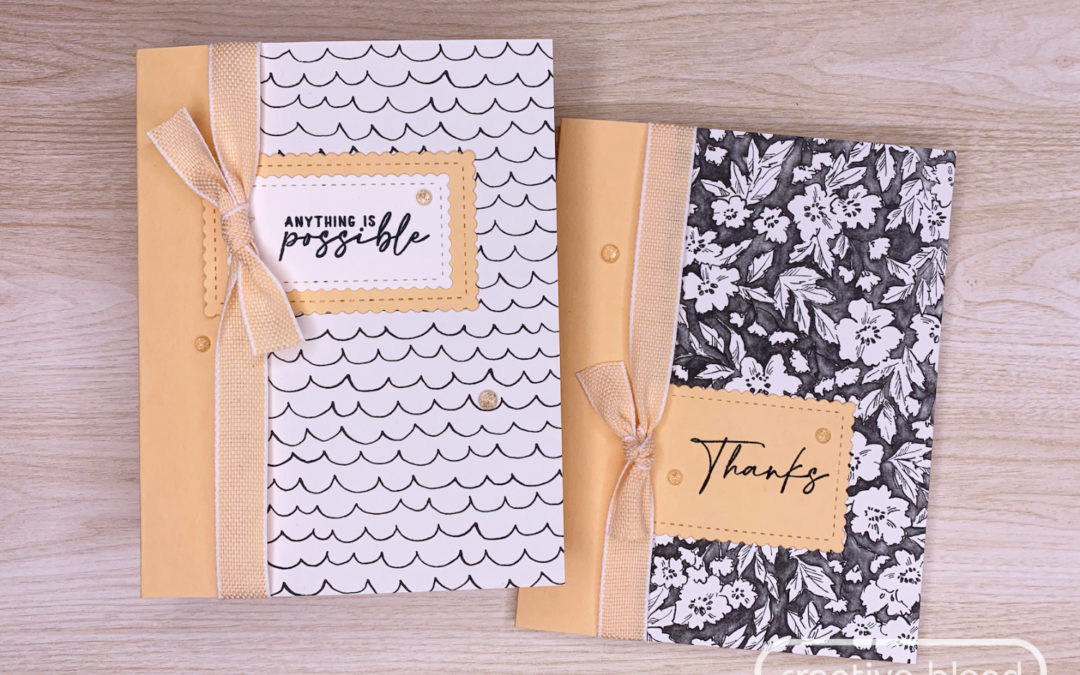
Host a creative party during Sale-A-Bration and both you and your guests can earn free Sale-A-Bration products PLUS, if you place any party or personal order of $375 or more, you’ll receive the exclusive Calming Camellia stamp set for free.
")
Coordinating Sale-a-Bration products
While you’re browsing, be sure to look at the coordinating products from the January-June 2022 Mini Catalogue you can pair with your fabulous Sale-A-Bration finds! For example, the Daffodil Afternoon Designer Series Paper on page 4 of the Sale-a-bration catalogue coordinates with the Daffodil Daydream Bundle (157795) on page 37 from the January-June 2022 Mini Catalogue.
Another really great coordinating product is the Sunshine & Rainbows Designer Series Paper on page 8 that coordinates with Rainbow of Happiness Bundle on page 18 of the January-June 2022 Mini Catalogue. The Rainbow of Happiness Bundle is $60.25, so you would get the Sunshine and Rainbows DSP for free with the purchase of the bundle because the paper is part of the “free with $60 purchase” category.
Shopping during Sale-A-Bration
Through my online store, the Sale-A-Bration shopping experience is really easy. When you reach a qualifying purchase amount required to earn a free Sale-A-Bration item, the shop will let you know by highlighting the “rewards” icon which looks like a gift box in the upper right-hand corner. This will allow you to choose from multiple reward options depending on the total amount of your shopping cart. Before checking out, you can easily select which products you want.
If you would rather contact me to make an order, please feel free to do that as well. I’d be happy to help.
Inspiration for Sale-A-Bration
I can’t wait to create with my new products and share them with you here on my website, through my newsletter, on Pinterest, Instagram and on my Facebook page. Be sure to follow me on your favourite social media channel and sign up for my newsletter to get inspiration right in your inbox.
Perks to joining Stampin’ Up! during Sale-A-Bration
When you become an independent Stampin’ Up! demonstrator, you join a supportive community of others who share your passion for creativity. Join now and select $165 of products for only $135.
During Sale-A-Bration, you’ll also get your choice of any two stamp sets for FREE! Only host stamp sets and Sale-A-Bration stamp sets are excluded from this offer.
Let me know if you would like to join our creative community or simply sign up through my Stampin’ Up! Join webpage. We engage during virtual monthly meetings and take part in creative and business challenges to keep our creative juices flowing.
Get a Stampin’ Up catalogue and start crafting
I hope you are just excited as I am to play with some new Stampin’ Up! goodies from the Sale-A-Bration release.
If you would like a paper catalogue mailed to you, contact me through my website or connect with me on social media. If you would like to browse a digital catalogue, go to my Catalogues webpage to see current catalogues. If you would like to shop the catalogue, go to my shop on the Stampin’ Up! Canada website.
Let me know if you have any questions about Stampin’ Up! Products, if you are interested in a card class or if you want to host your own crafting get-together where you can earn free product.
Stay tuned crafters, Dawn
Creative Blend Newsletter
Stay inspired and subscribe to receive updates from the blog, upcoming card classes, events and crafty sales straight to your email.
Find me on social media
Stay connected with me online and see even more creative inspiration I’m sharing!


 156629

 156619