Card making inspiration using the Abigail Rose suite by Stampin’ Up!

Card making inspiration using the Abigail Rose suite by Stampin’ Up!

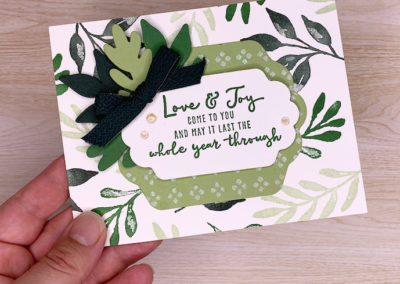
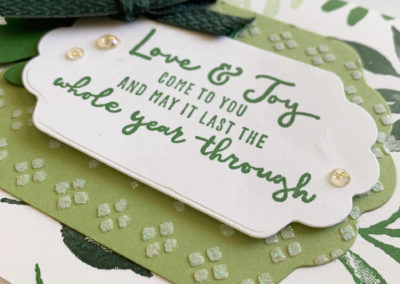
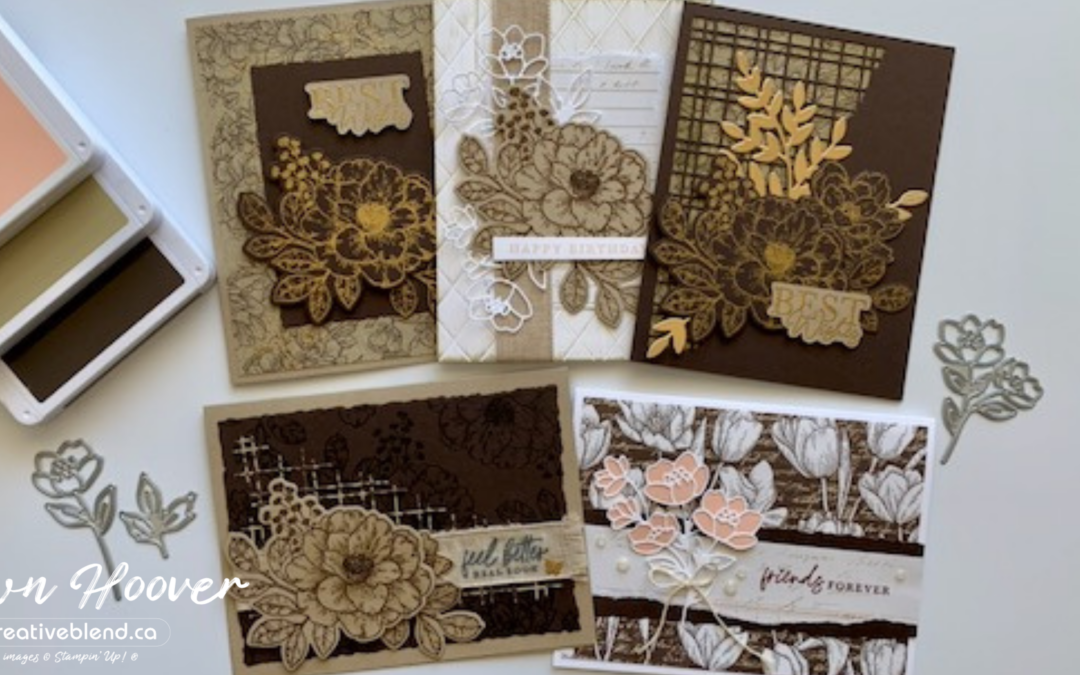
Cards made from the Abigail Rose suite by Stampin’ Up!

Card making inspiration using the Abigail Rose suite by Stampin’ Up!

Stampin’ Up! has released its 2022-23 annual catalogue! To celebrate, I’m participating in a social media hop with the Sleepless Stampers Stampin’ Up team. We are featuring the Happiness Abounds bundle, He’s all that stamp set, the Cracker and Treat box dies, Charming Sentiments bundle, Sending Smiles bundle, and the Sun Prints Suite. If you would like to follow along, connect with me on Facebook and Instagram to see everyone’s projects.

Abigail Rose Suite showcase

Sometimes I get lucky and the creative mojo is on fire. I can’t tell you how many times I have needed to design a card for a class or tutorial and overthink it so much that I create my own creative block. For my first social media hop with the team, I decided to just start playing with products by stamping and die cutting. After about a day of playing, I returned to my craft space and began with sketching layouts and ideas I wanted to incorporate. Next thing I knew, I had a bunch of ideas and when I would begin working on one, more would come!

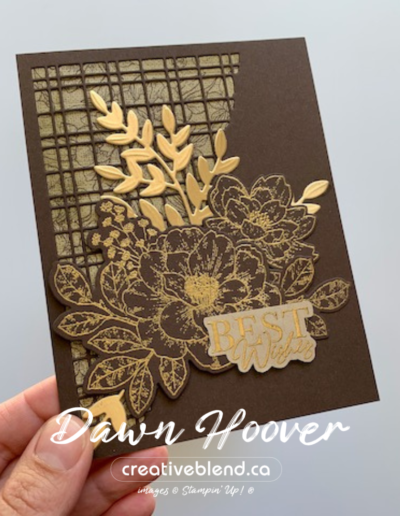
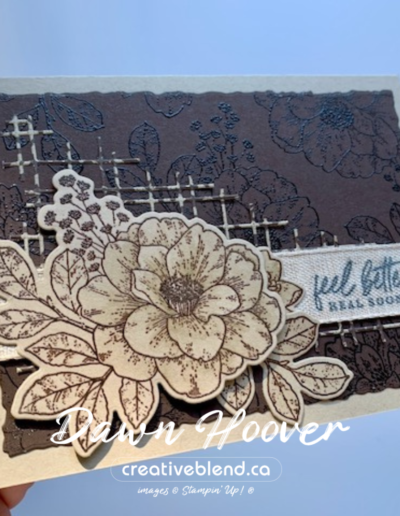
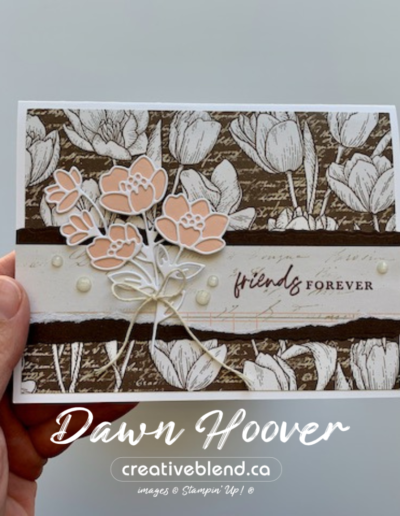
The Abigail Rose suite includes the Cottage Rose bundle, Abigail Rose Designer Series Paper (DSP), and a roll of Natural Finish 7/8″ ribbon.

Card designs

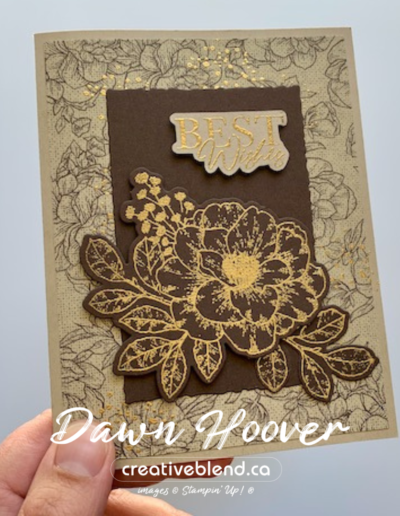
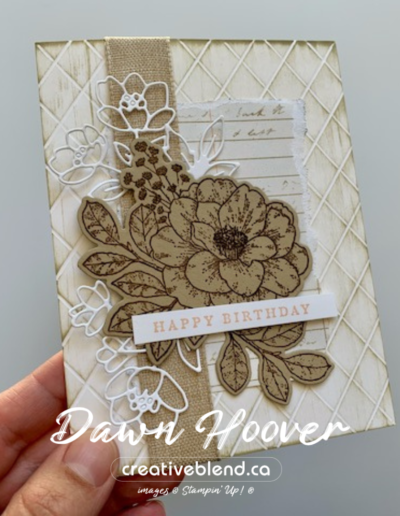
Here are five card designs that I choose to showcase in our social media hop.

Get a new Stampin’ Up! catalogue

I hope these cards inspire you to want to create. If you would like a new 2022-23 annual catalogue, please feel free to contact me through my website or connect with me on social media. If you would like to browse a digital catalogue, go to my Catalogues webpage to see current catalogues. If you would like to shop the catalogue, go to my shop on the Stampin’ Up! Canada website.

Let me know if you have any questions about Stampin’ Up! Products, if you are interested in a card class or if you want to host your own crafting get-together where you can earn free product.

Thanks for reading, Dawn

Creative Blend Newsletter

Stay inspired and subscribe to receive updates from the blog, upcoming card classes, events and crafty sales straight to your email.

Find me on social media

Stay connected with me online and see even more creative inspiration I’m sharing!

Handmade Christmas cards with Stampin’ Up!’s Painted Christmas Suite

Handmade Christmas cards with Stampin’ Up!’s Painted Christmas Suite

Handmade Christmas cards with Stampin’ Up!’s Painted Christmas Suite

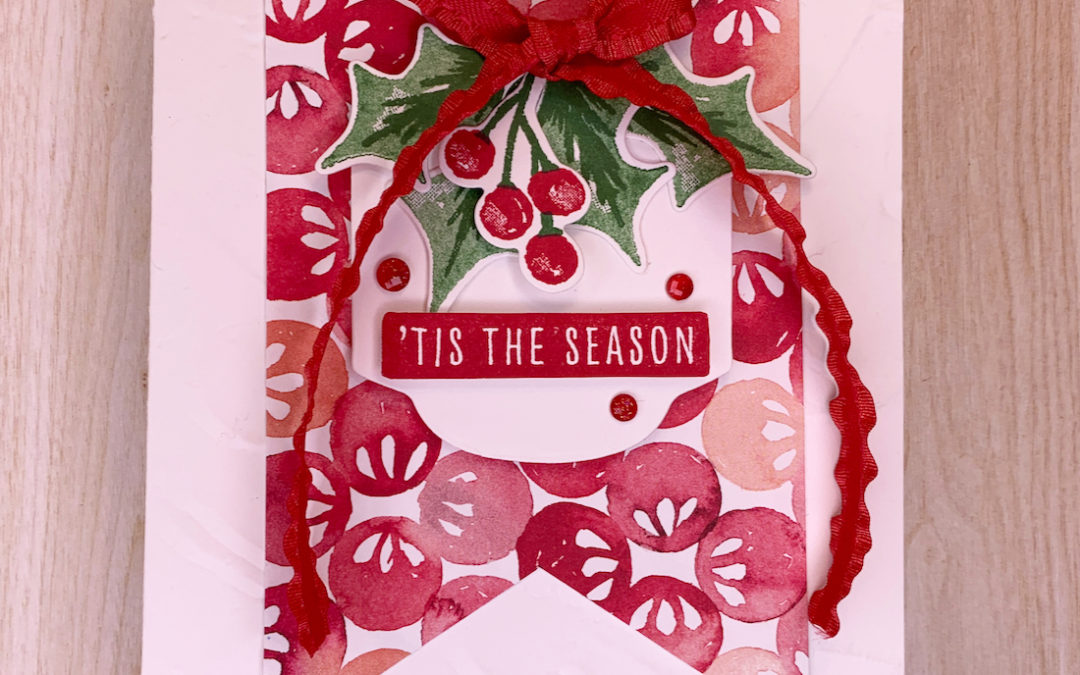
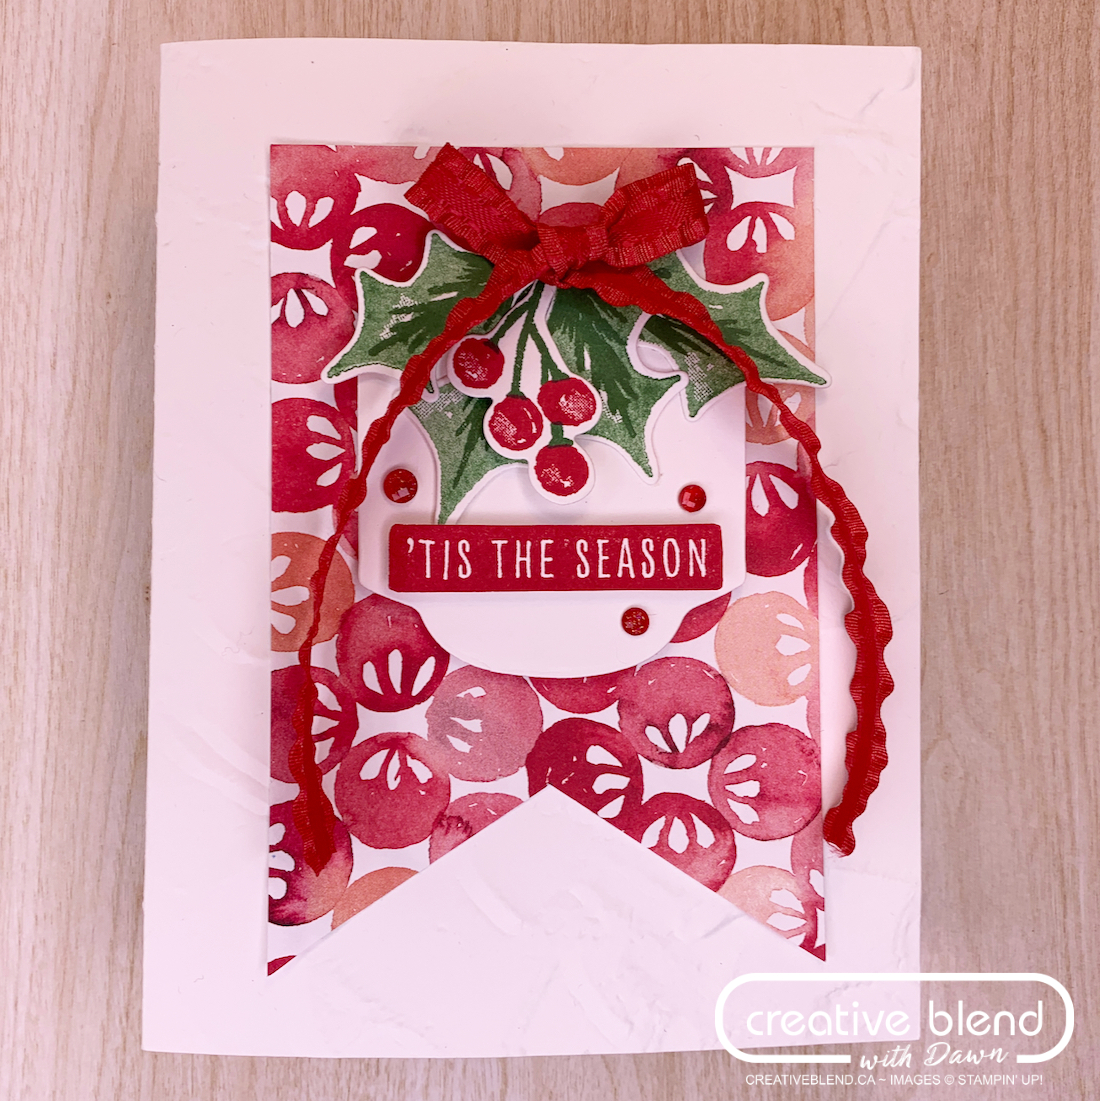
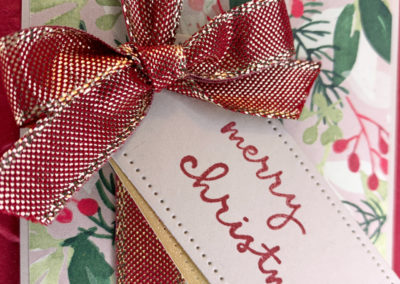
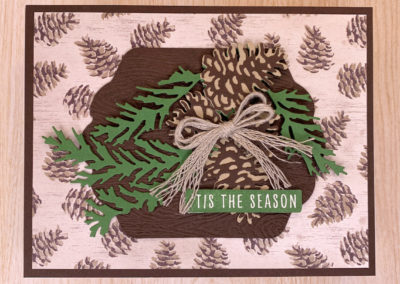
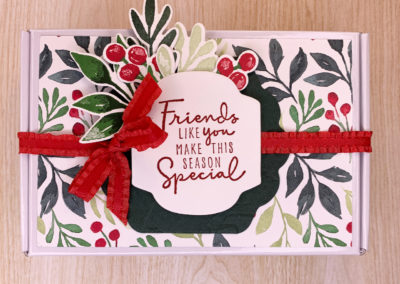
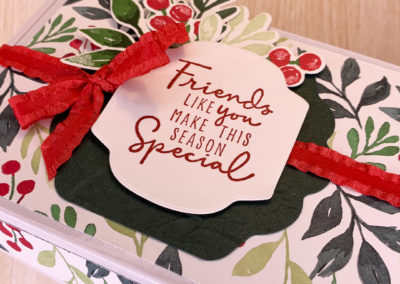
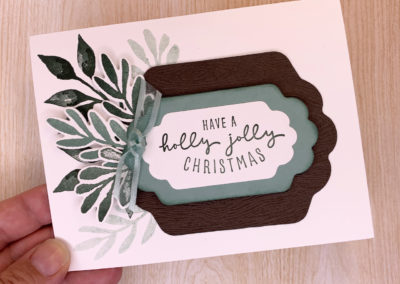
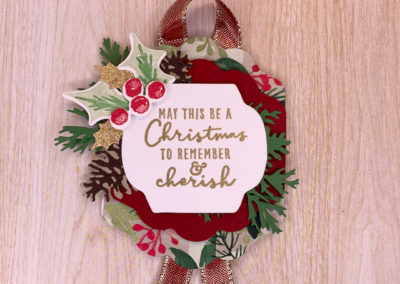
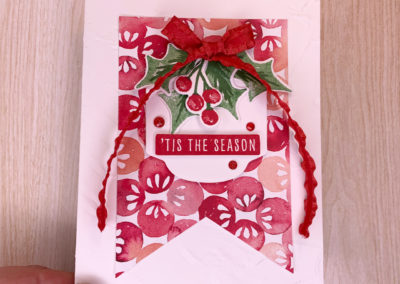
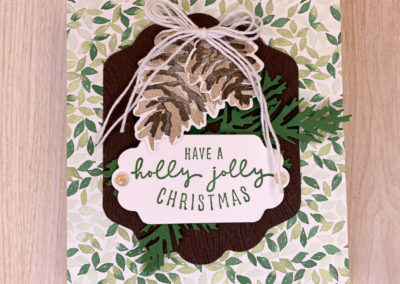
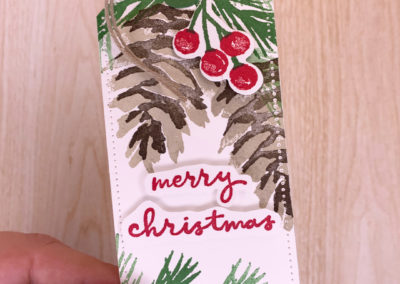
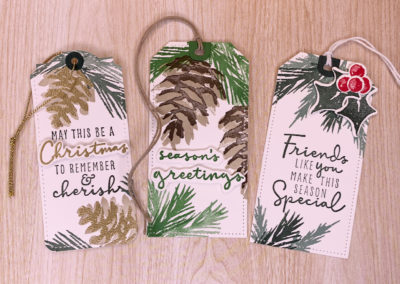
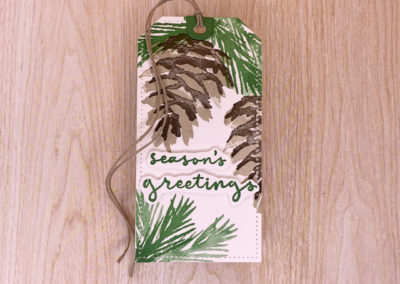
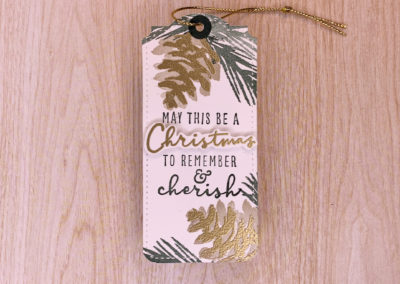
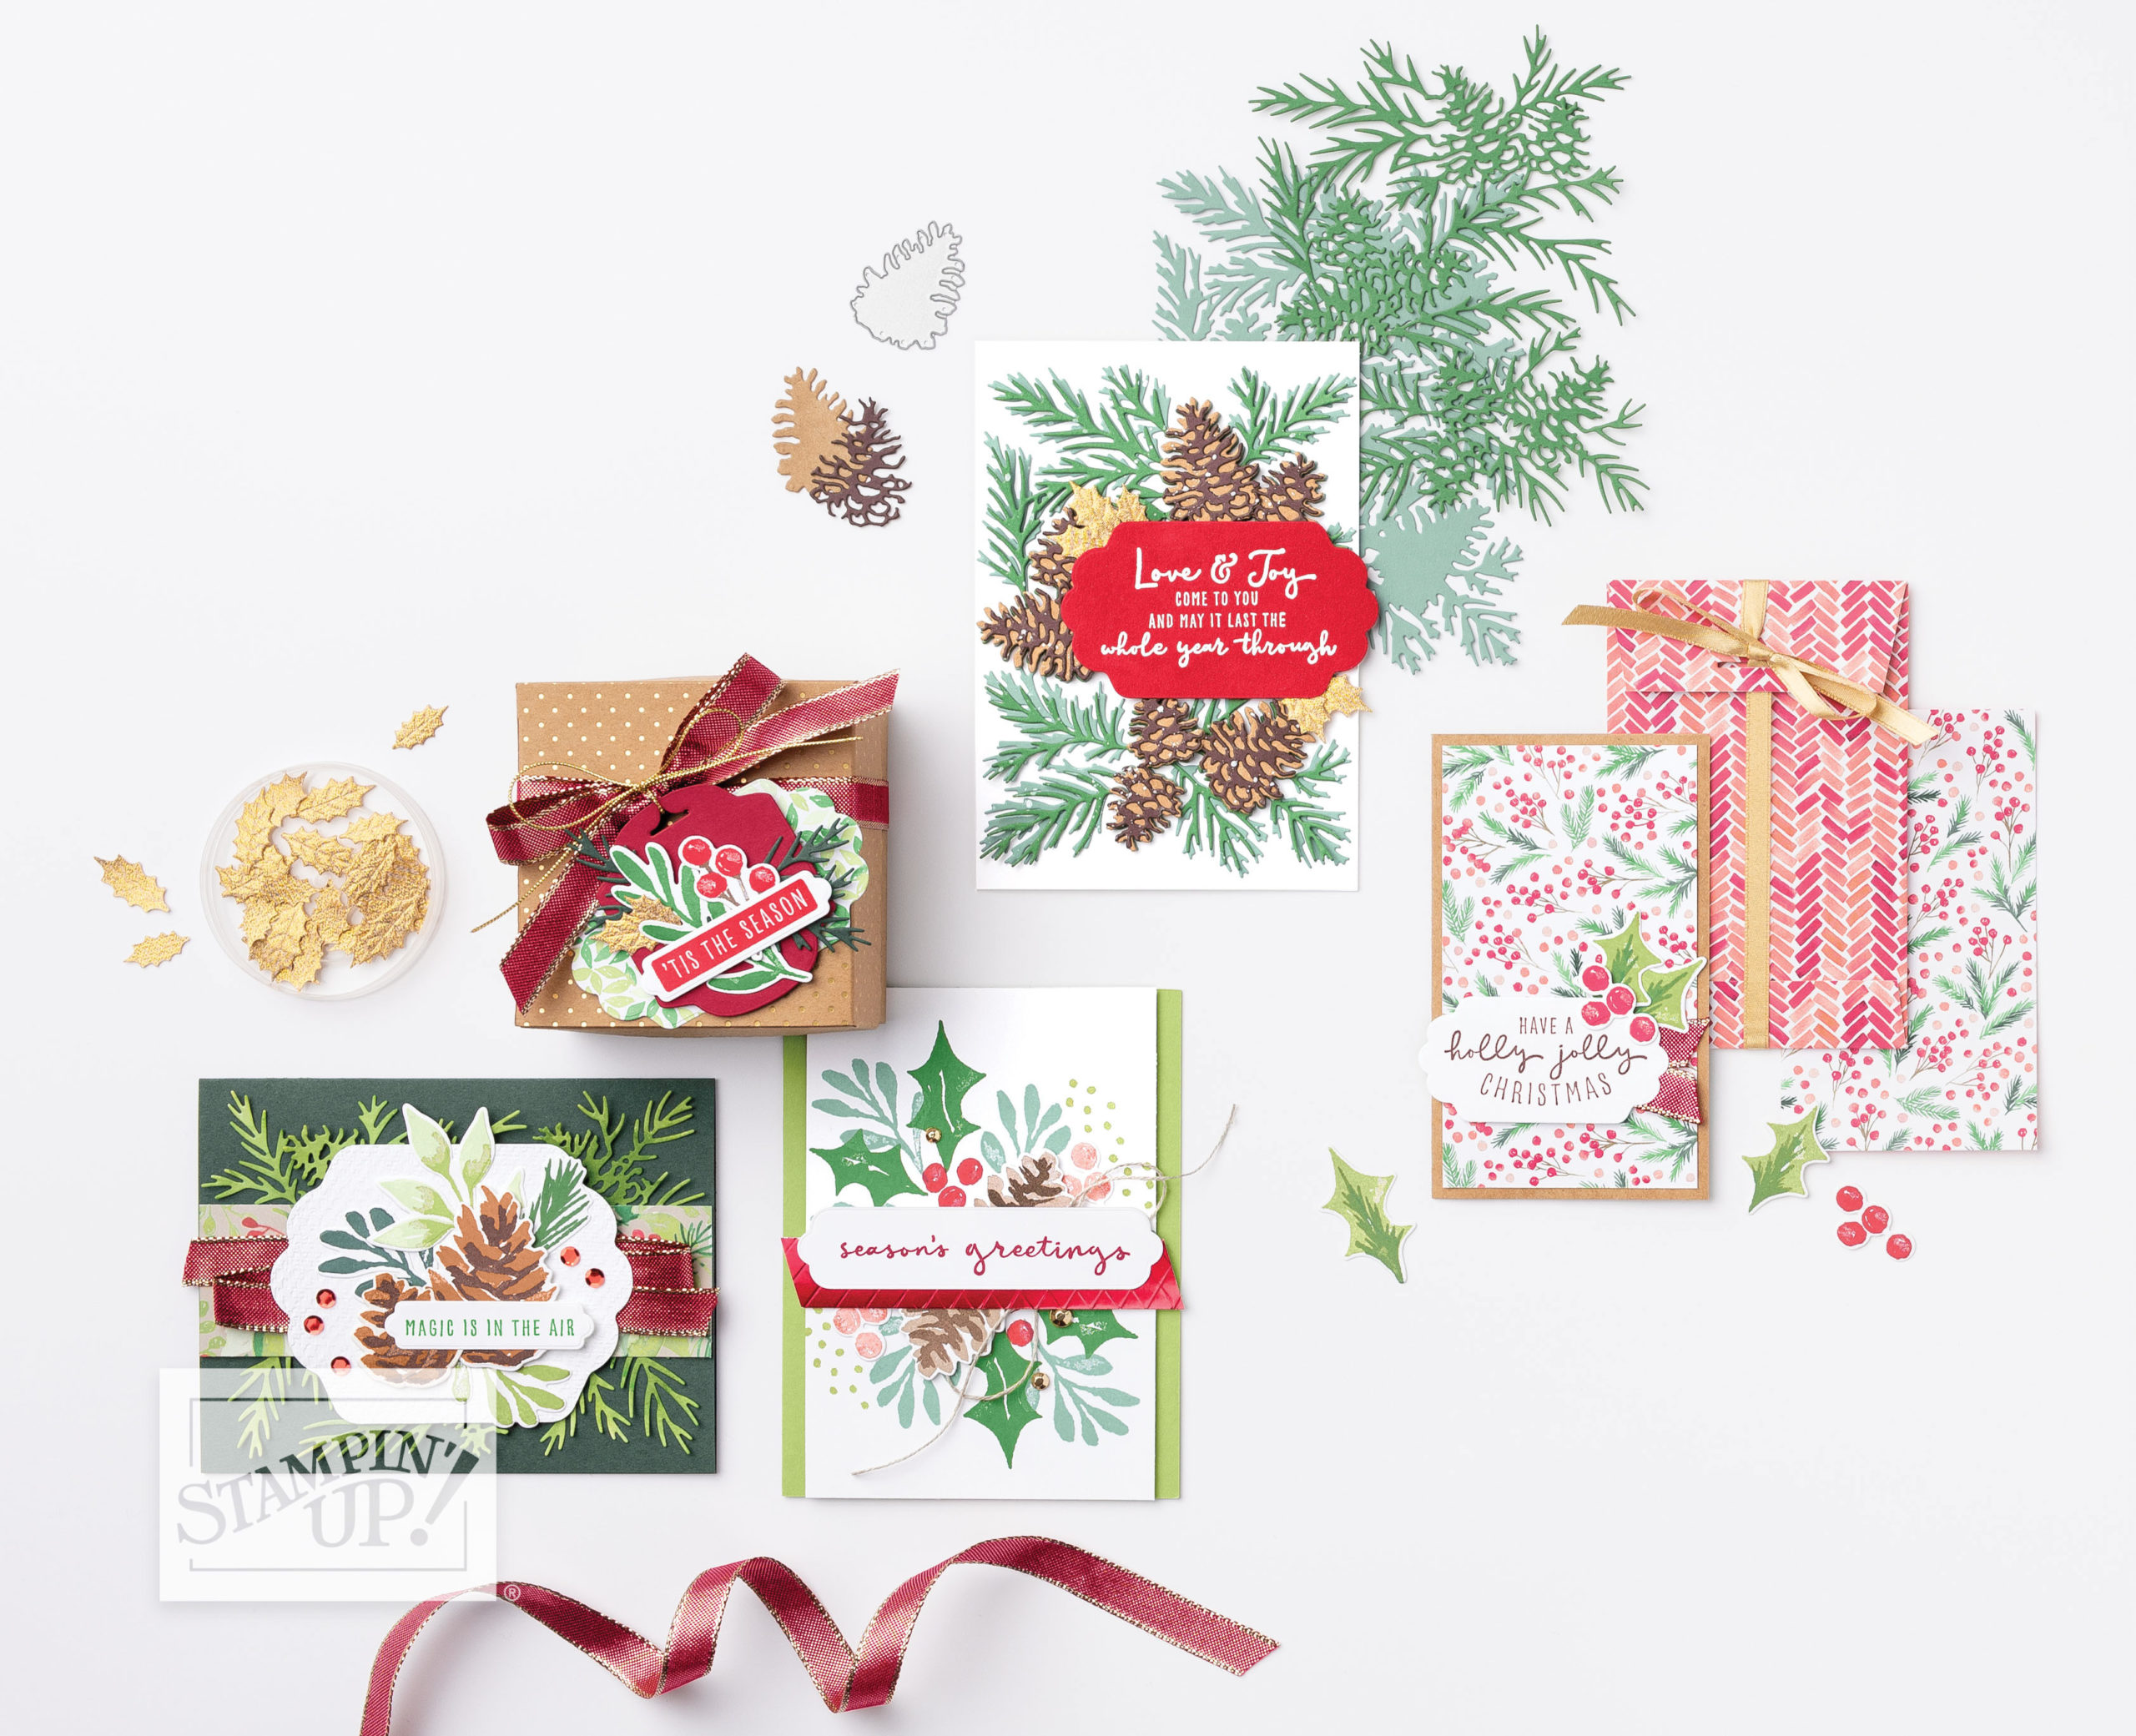
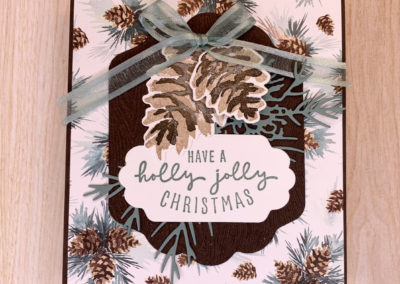
I have been keeping busy trying to make all the things that I want to make using Stampin’ Up!’s Painted Christmas Suite from the Mini Catalogue. I’m about halfway there, says my Pinterest board! Traditionally the June to December Mini Catalogue is called the Holiday Catalogue because it features products for the seasons and celebrations that are part of the last half of the year. I couldn’t buy all the things from the catalogue so I focused on two suites that will fulfill my handmade Christmas cards, tags and treat box quota for the holidays. One is the Painted Christmas Suite that I feature in this blog post and the other is the Peaceful Place Suite which I’ll share ideas for soon.

So many ideas!

This suite of products is huge. As soon as you start making one thing, a ton of ideas start flowing through your head and then I start to think that I would need a month off work to get them all made. When using a suite of products, everything coordinates so one idea leads to another very easily.

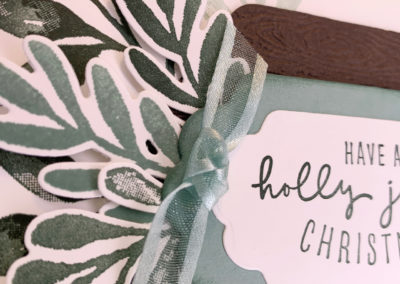
I have utilized the Two-Step Stampin’ features of the stamp sets but there are still a lot of ideas I have yet to hash out with the Christmas Pinecone dies. Without further ado, let’s look at the designs I have accomplished!

Shop the Painted Christmas Suite

    I hope you found lots of inspiration for your handmade Christmas cards and holiday creations. Please do not hesitate to contact me if you have any questions.

    Until the next one, Dawn

    Creative Blend Newsletter

    Stay inspired and subscribe to receive updates from the blog, upcoming card classes, events and crafty sales straight to your email.

    Find me on social media

    Stay connected with me online and see even more creative inspiration I’m sharing!
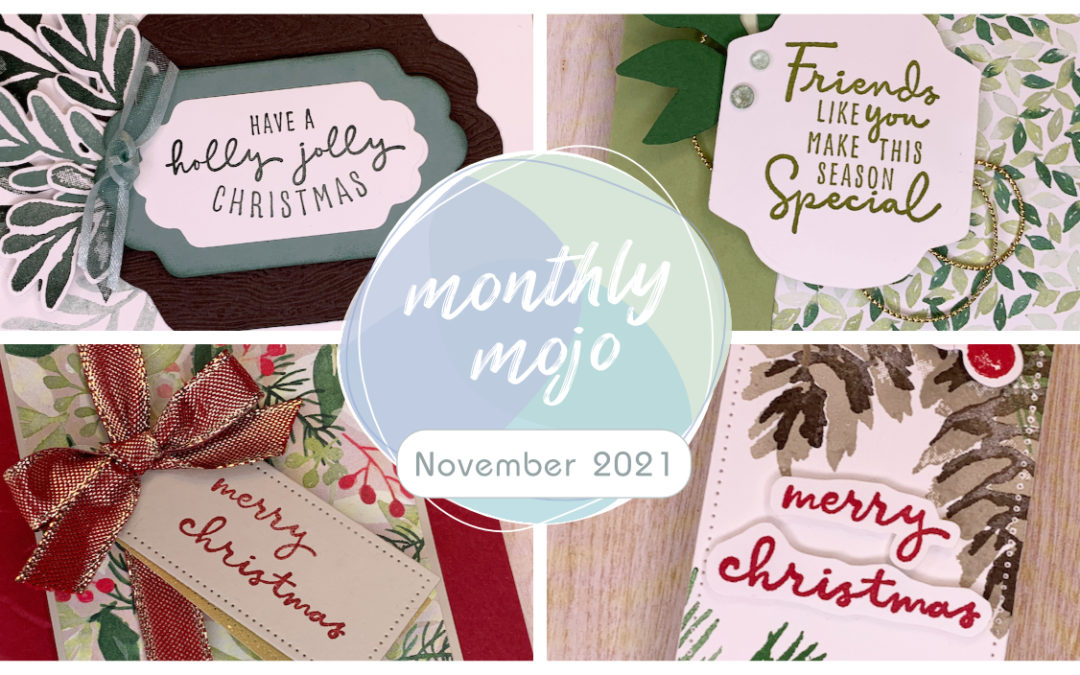
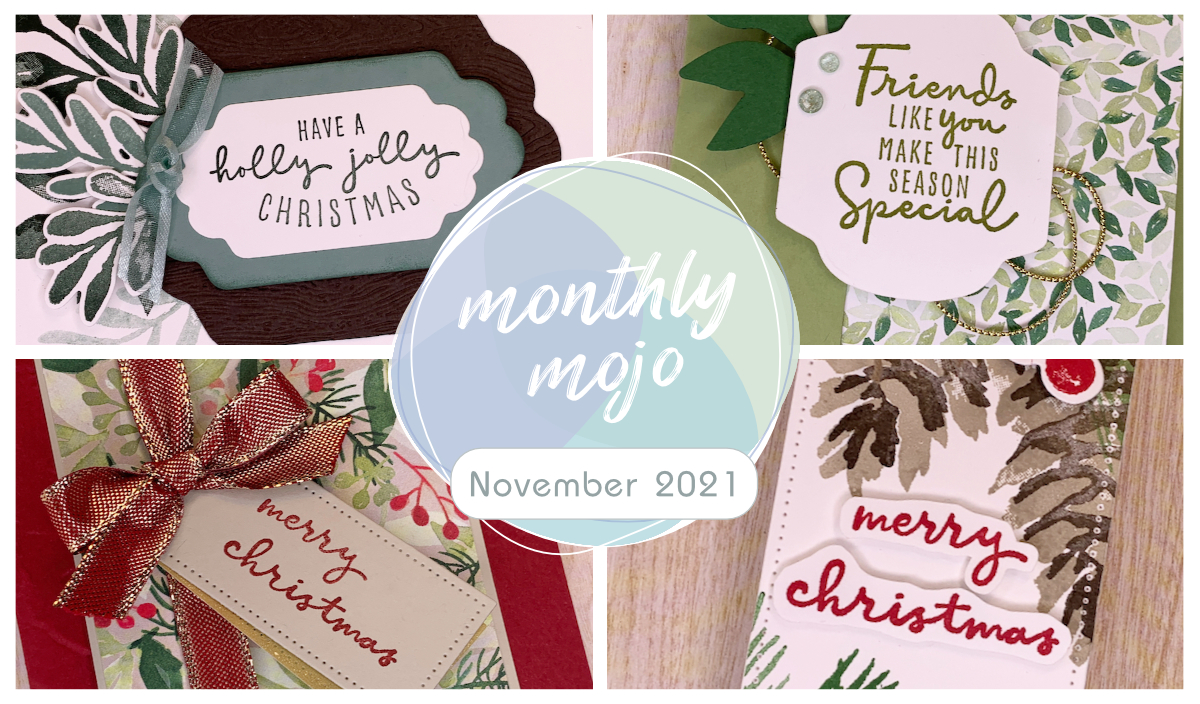
    Monthly Mojo Card Class featuring the Painted Christmas Suite

    Monthly Mojo Card Class featuring the Painted Christmas Suite

    Monthly Mojo Card Class featuring the Painted Christmas Suite

    Join me virtually, via ZOOM where we will get your crafty mojo going and teach you how to make your own handmade cards using Stampin’ Up! products. You’ll get new ideas, become motivated to craft and build up your card stash.

    Date: Monday, November 15, 2021
    Time: 7:00 pm CDT
    Location: Virtually through ZOOM

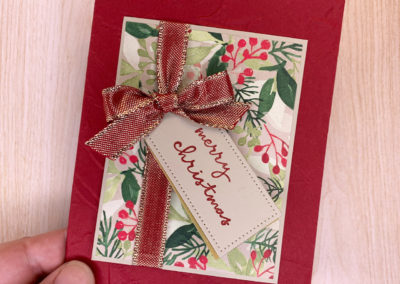
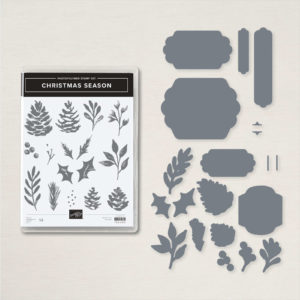
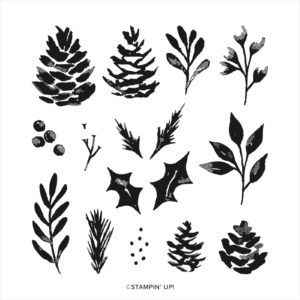
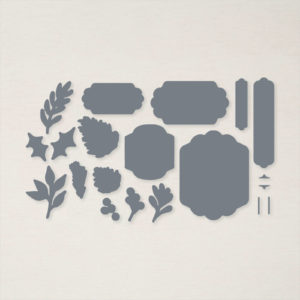
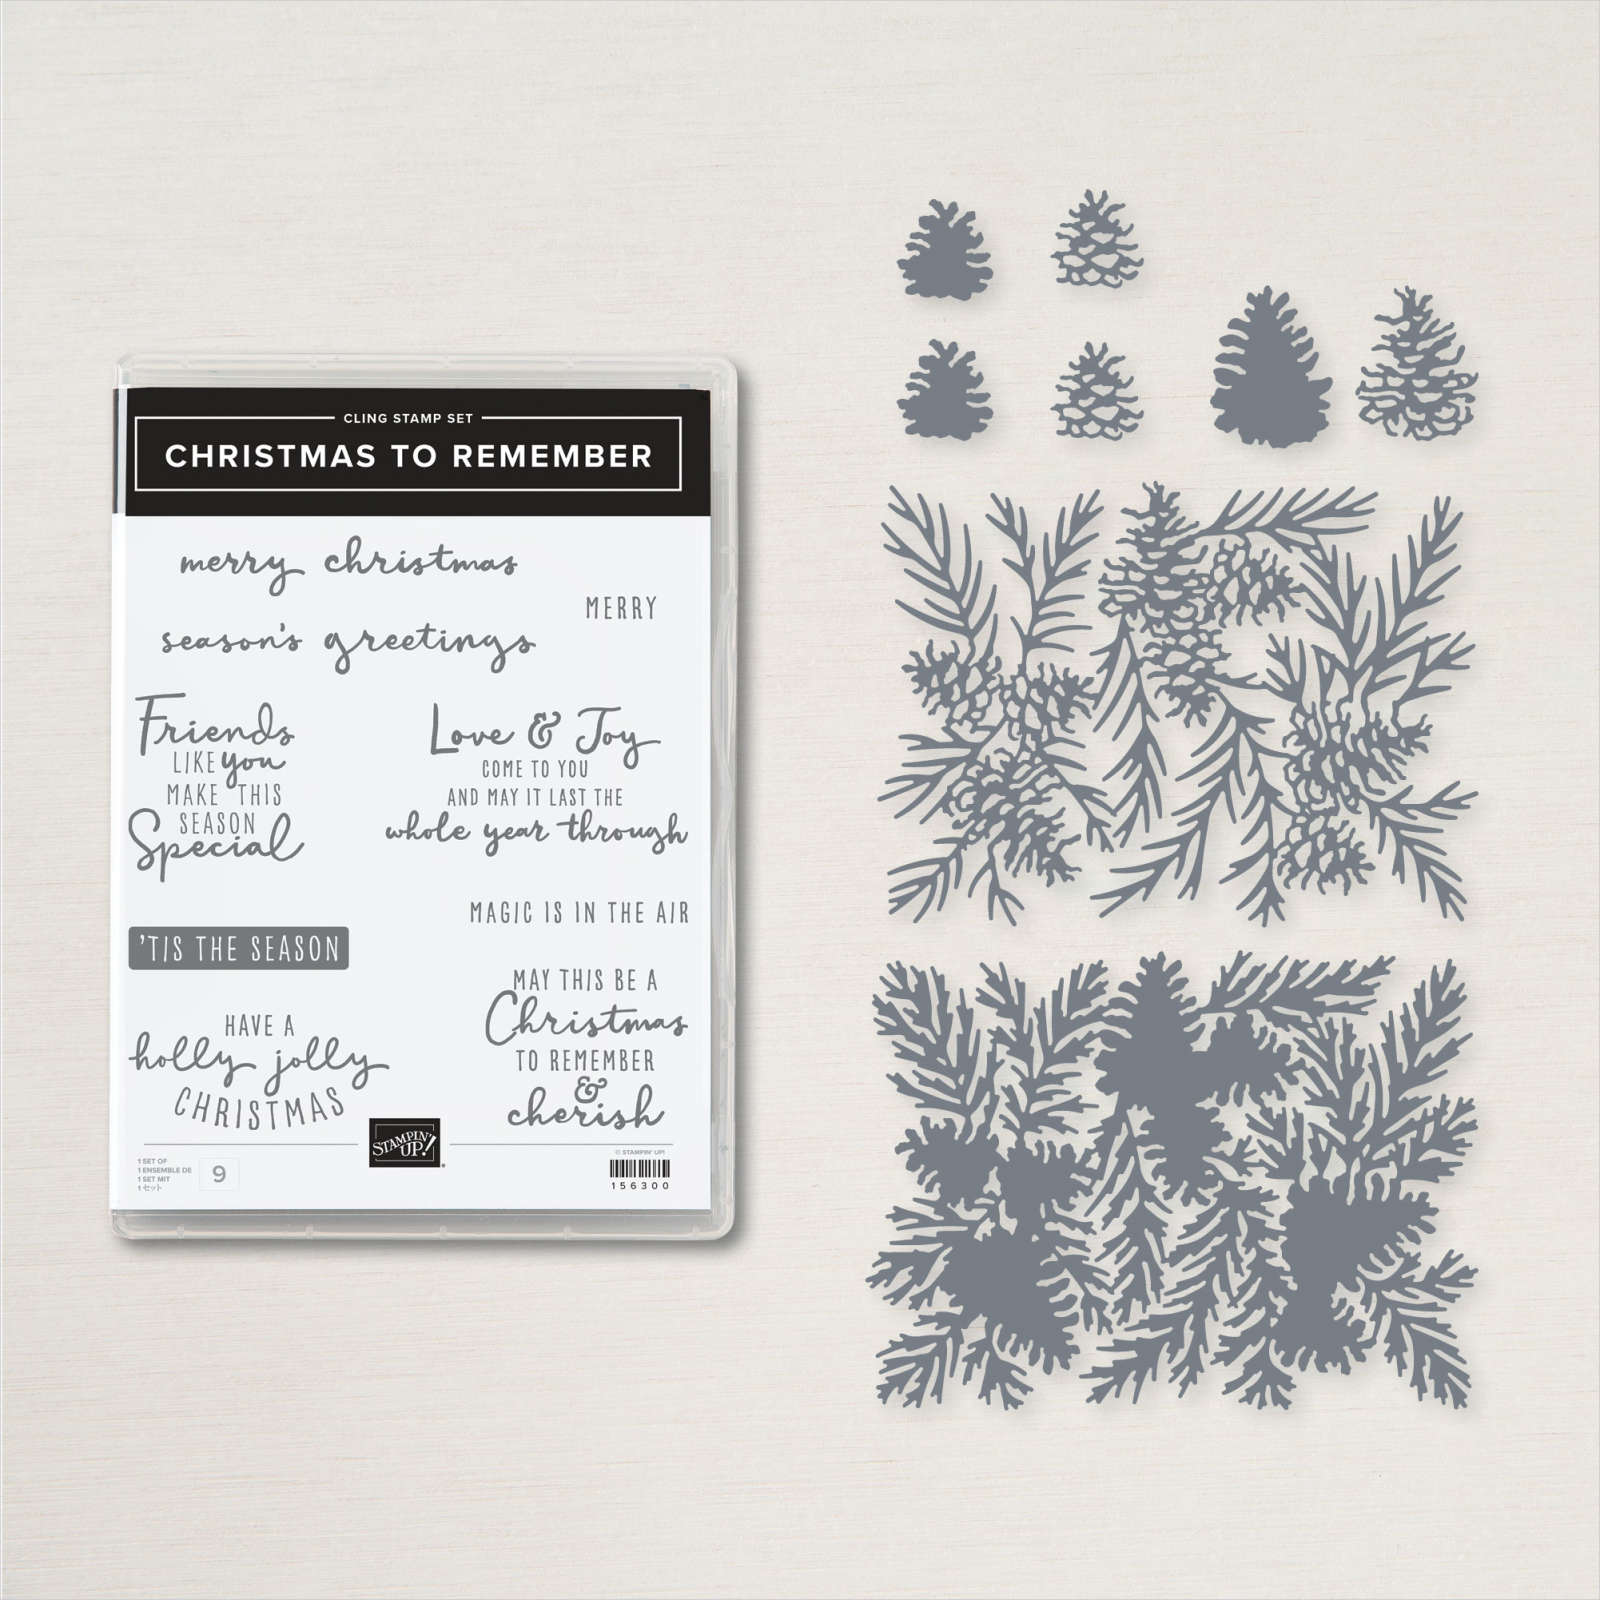
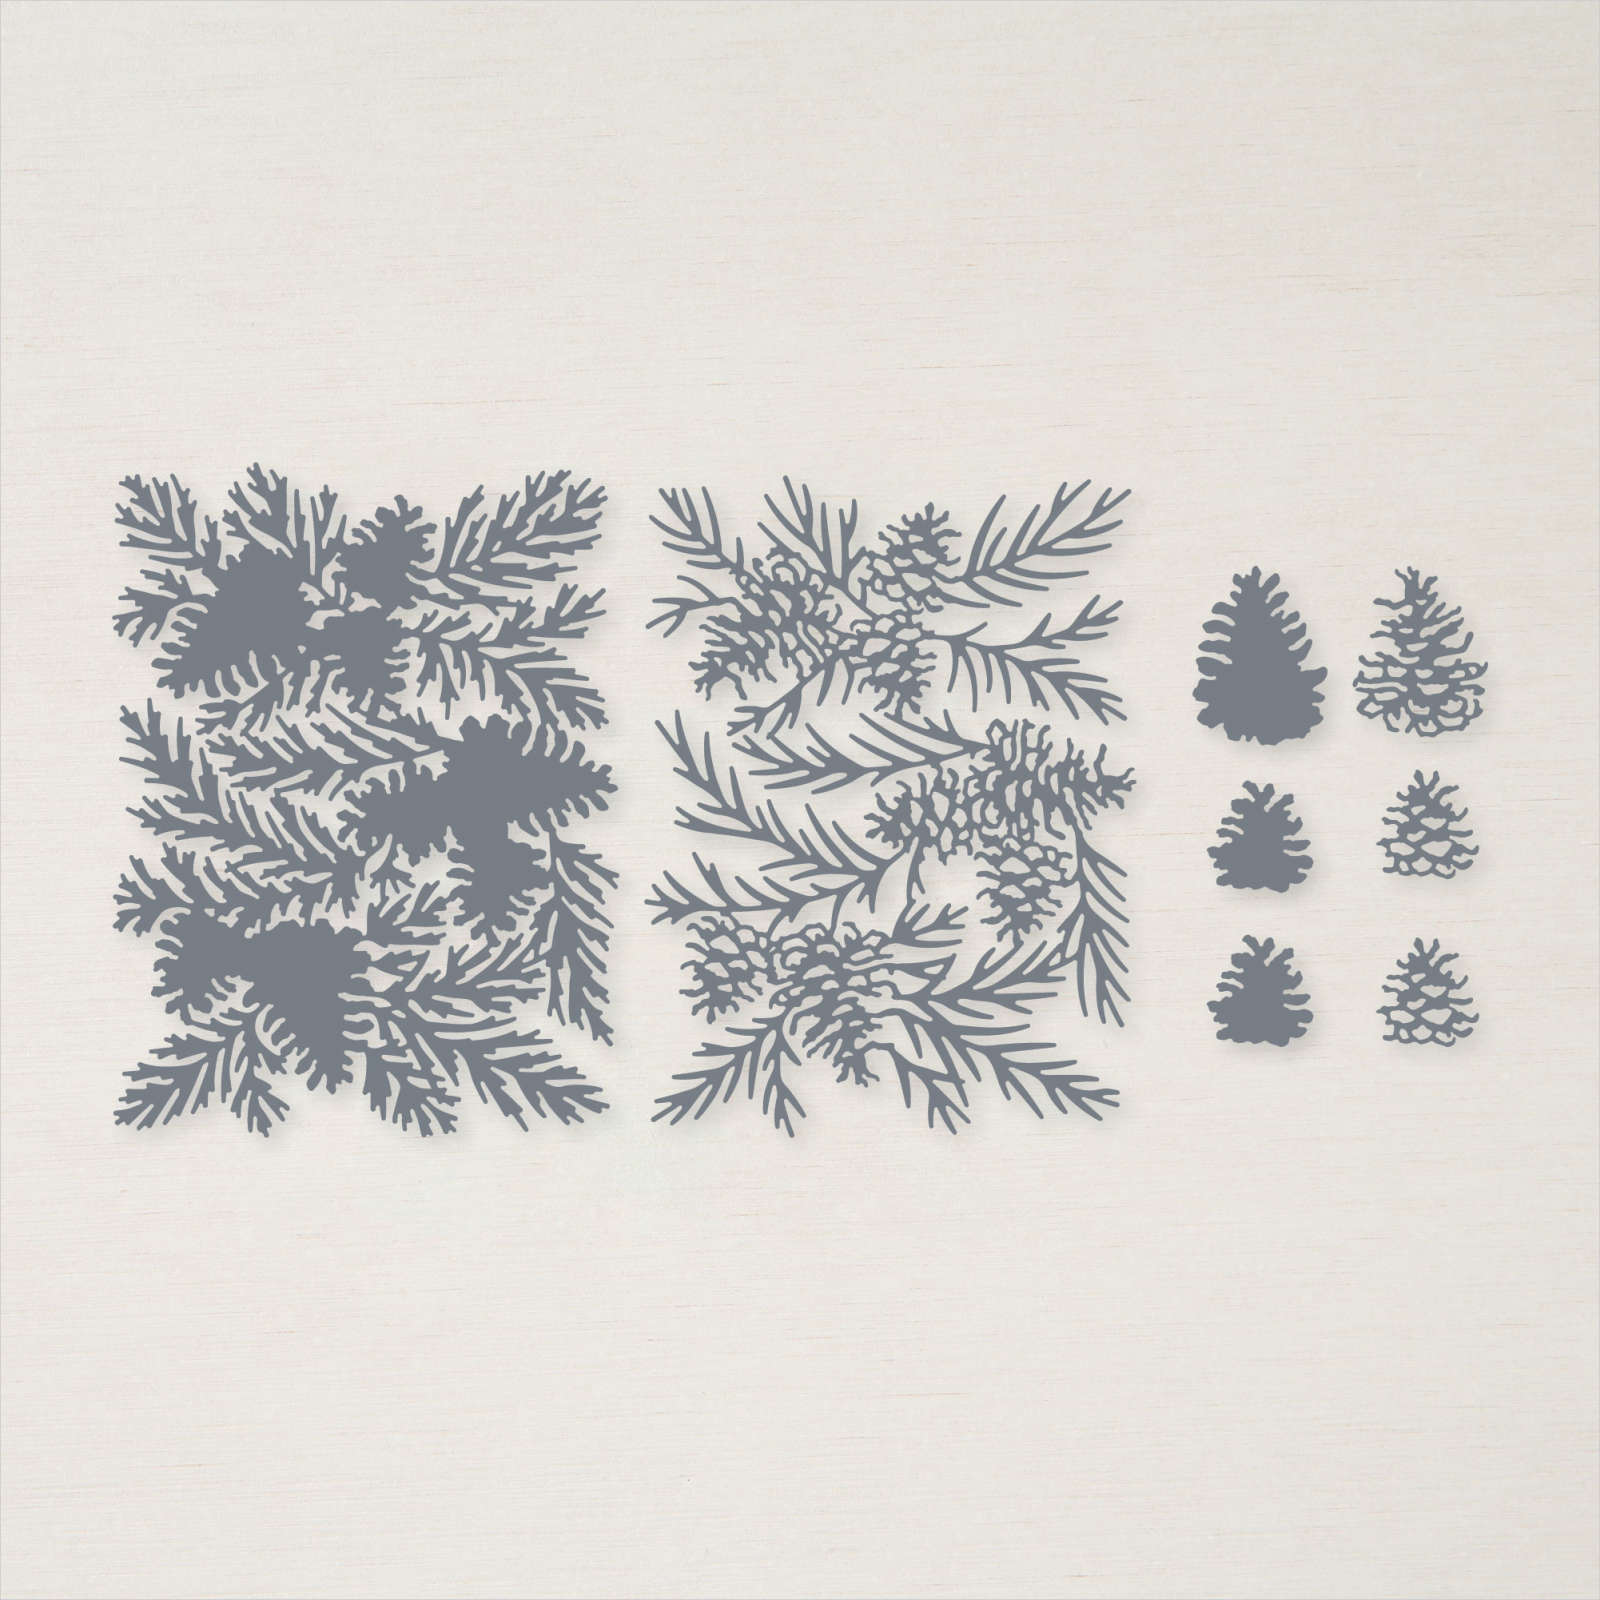
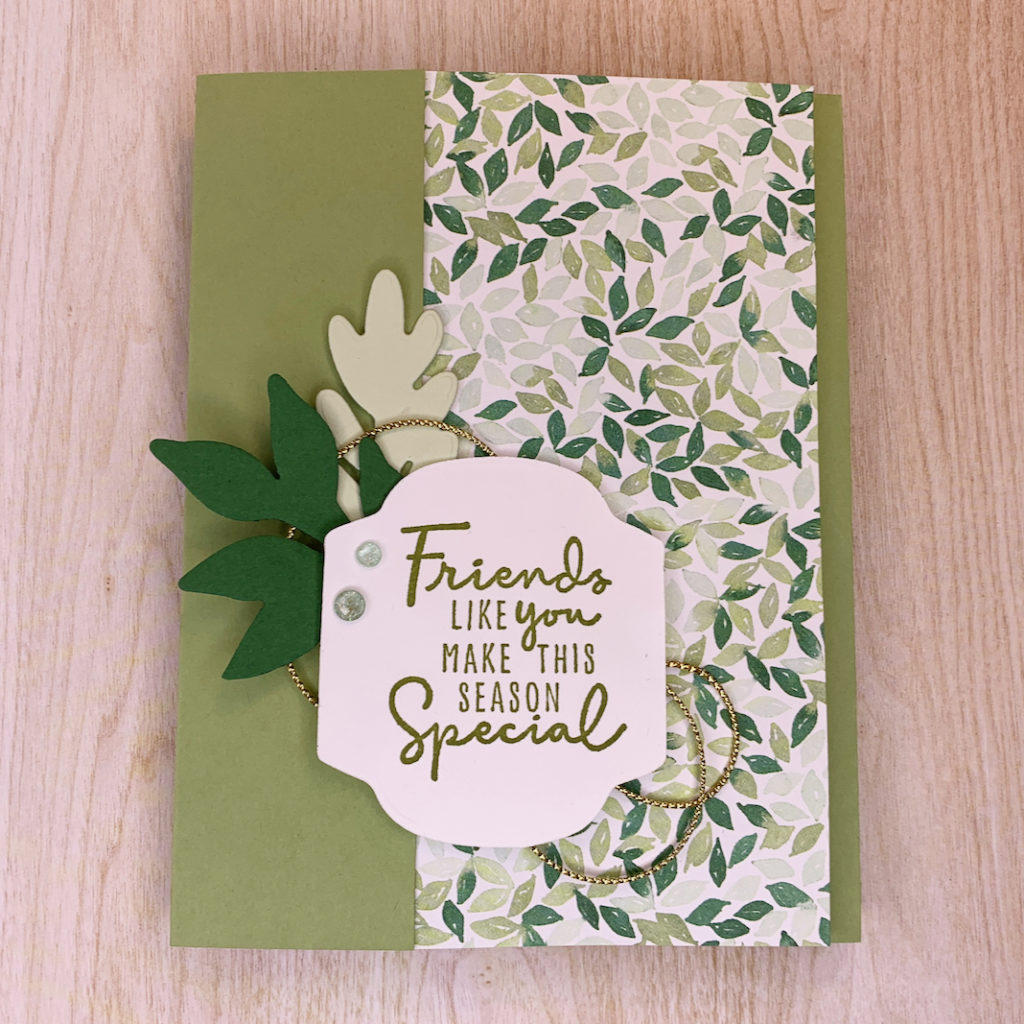
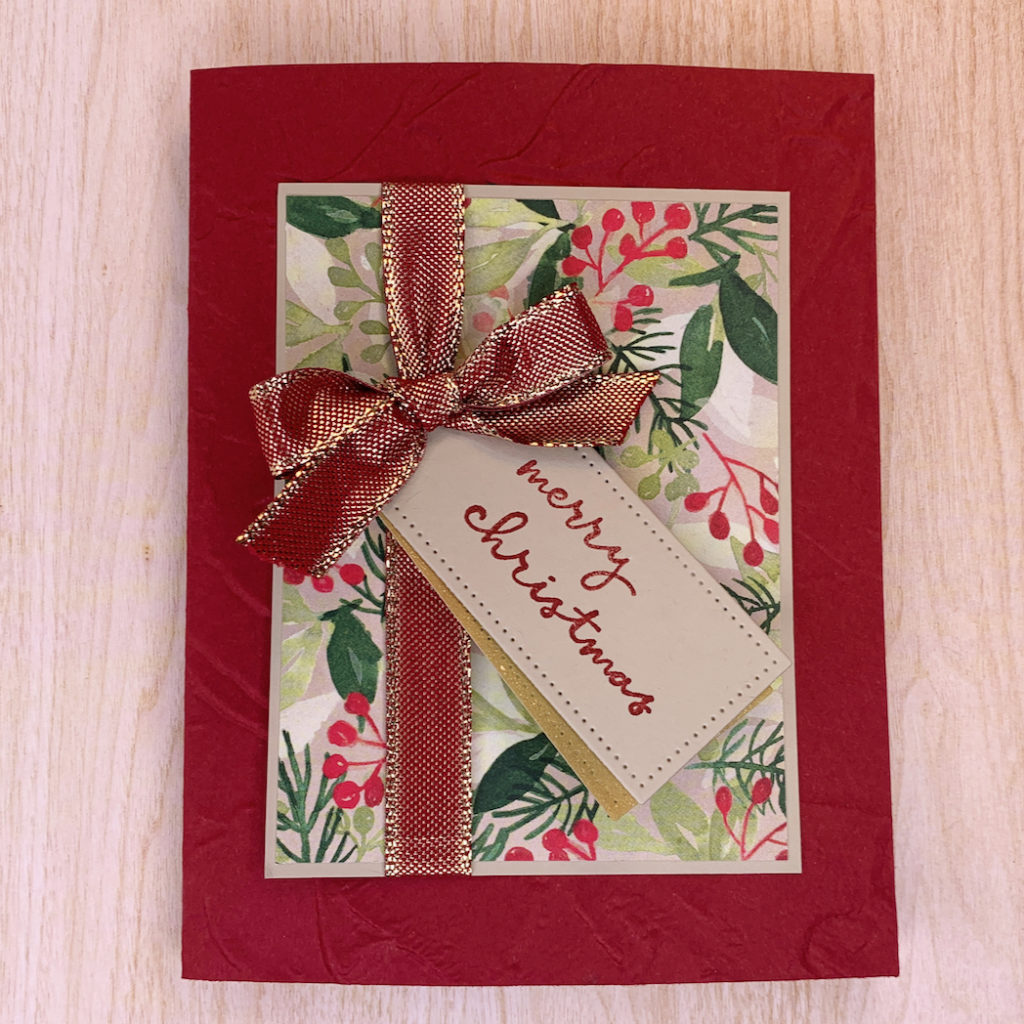
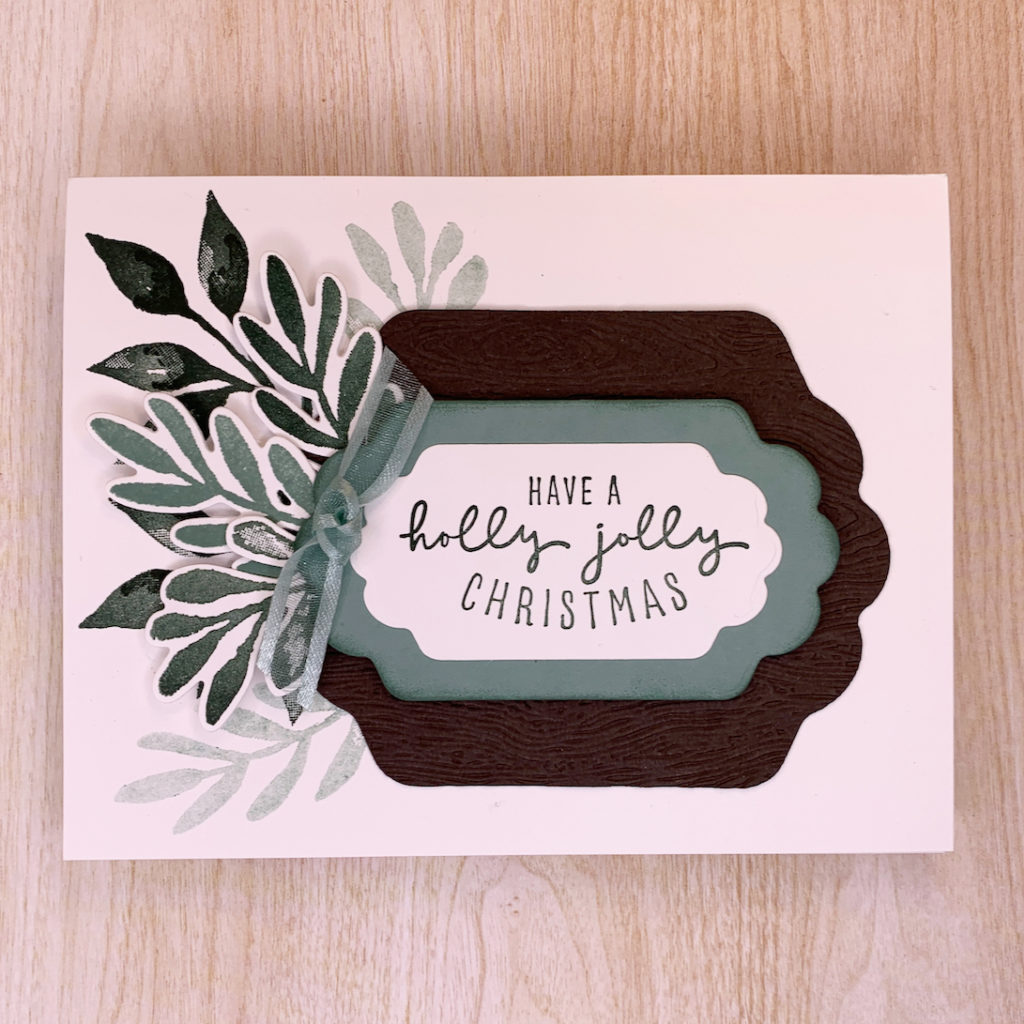
    For November’s class, I’ll be featuring the Christmas Season Bundle from the Painted Christmas Suite by Stampin’ Up! I also use the sentiments from the Christmas to Remember stamp set which is part of the suite or available as a bundle with the Christmas Pinecone dies.

    This card making class includes:

    3 differently designed cards – 2 of each for a total of 6 cards!

    All consumable supplies for 6 cards:

    • Designer Series Paper (DSP)
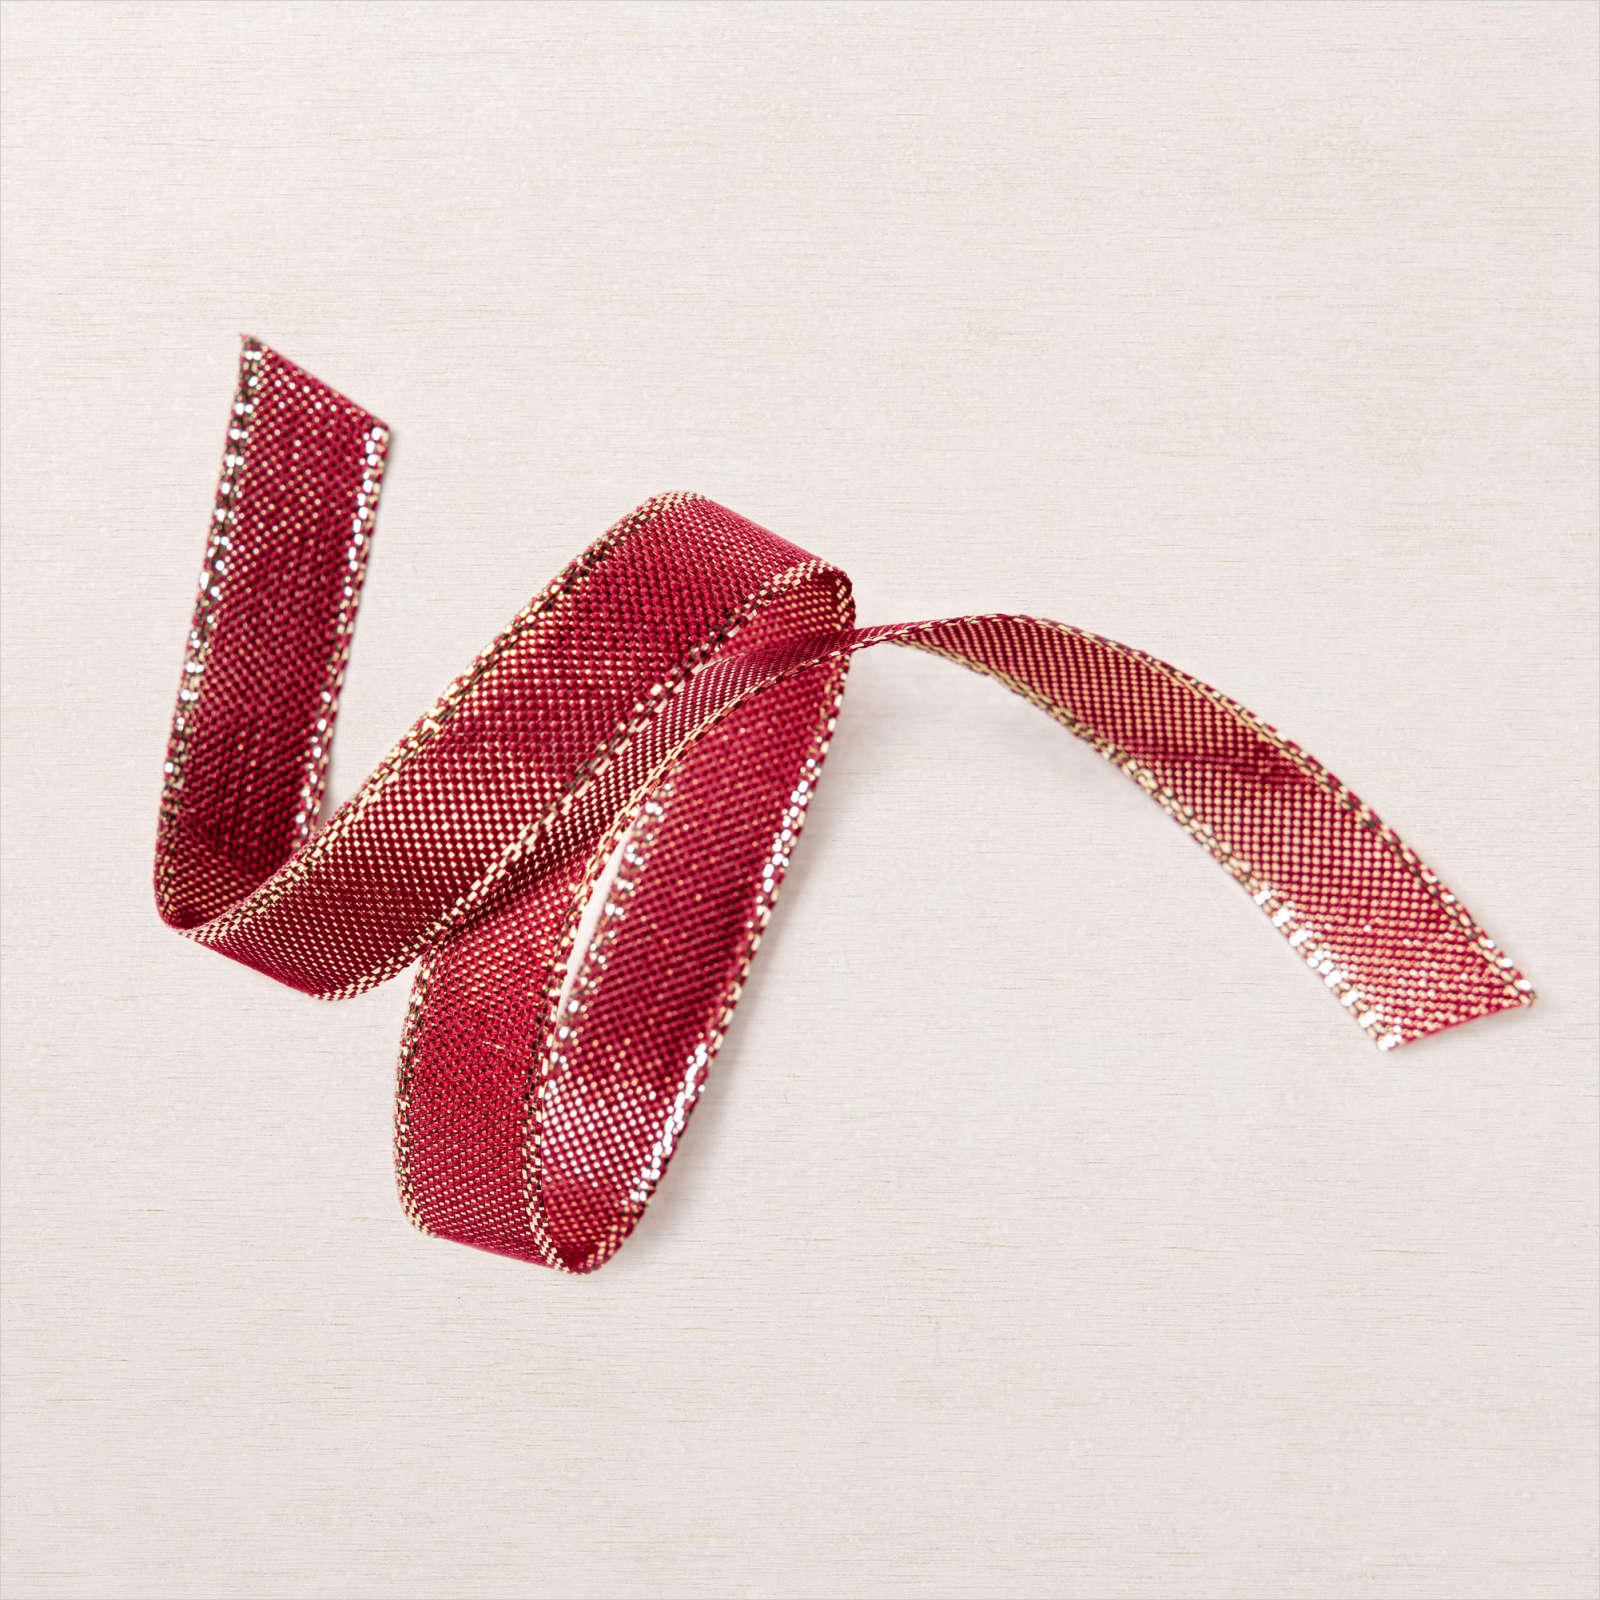
    • Ribbon
    • Embellishments
    • Cardstock
    • Card bases
    • Envelopes
    • PDF tutorial for future reference

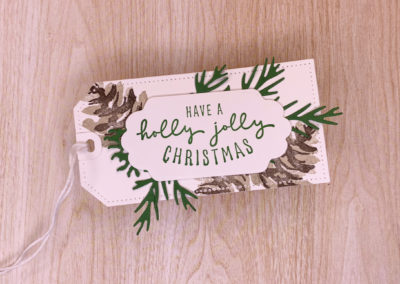
    AND a bonus tag design!

    Note: This card making class will NOT include any stamped images as per Stampin’ Up! Policy. You may purchase the stamp set or substitute it with another stamp set.

    The designs:

    Card design #1

    Card design #2

    Card design #3

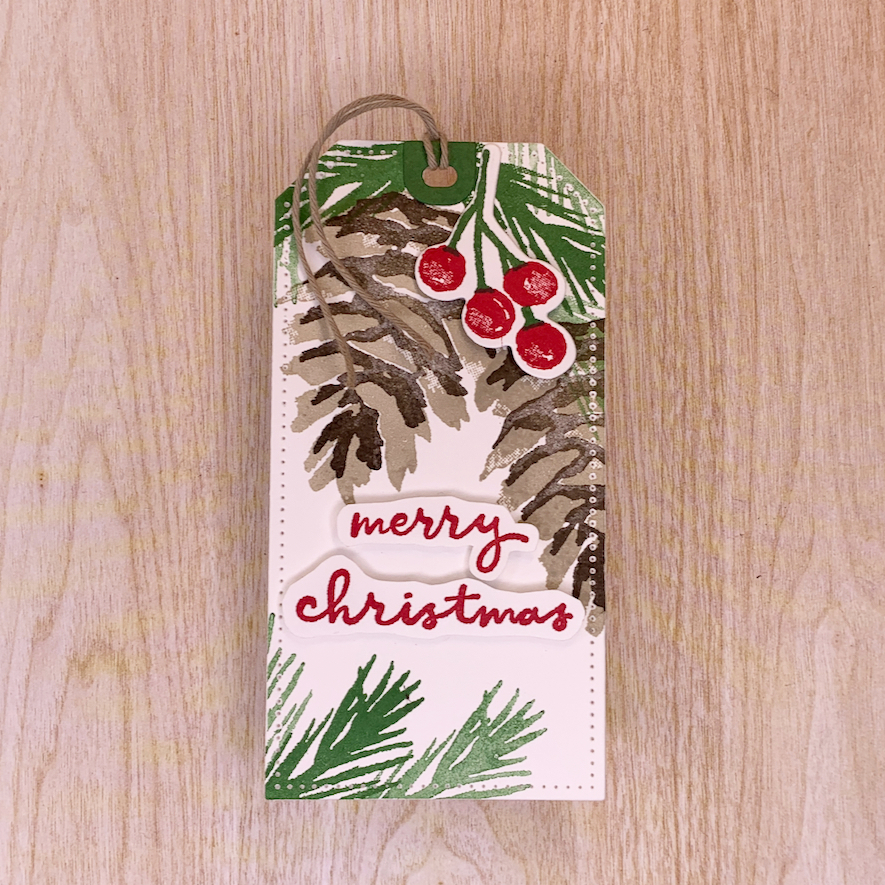
    Bonus Christmas tag!

    How to qualify for a free card kit and class

    1. Make a minimum $35 Stampin’ Up! purchase (before taxes and shipping) with me as your demonstrator
      AND
    2. Use the current month’s exclusive Host Code when you check out of the online store and you’ll automatically qualify for the card making class for free.

    Purchases must be made before 11:59 pm, on the last day of the current month to qualify for the next card class that will take place virtually on the 15th of the following month.

    For example, if you make a purchase between January 1st and 31st, you will qualify for the February 15th Monthly Mojo card class.

    You will be sent class information and confirmation by email. If you did not receive an email within 3-4 business days, search for dawn@creativeblend.ca in your spam or junk folders. If you still haven’t received confirmation, please contact me.

    I will arrange porch pick up or delivery (within 40km of Oakbank MB) with you the week before class. If you are an out-of-province customer, we can discuss shipping options to make sure you receive the card kit in time for class.

    Note: This card class is only available to Canadian residents as per Stampin’ Up! policy.

    Please do not hesitate to contact me if you have any questions.

    Dawn

    Creative Blend Newsletter

    Stay inspired and subscribe to receive updates from the blog, upcoming card classes, events and crafty sales straight to your email.

    Find me on social media

    Stay connected with me online and see even more creative inspiration I’m sharing!
    3 ways to use the free Textures & Frames Sale-A-Bration stamp set

    3 ways to use the free Textures & Frames Sale-A-Bration stamp set

    3 ways to use the free Textures & Frames Sale-A-Bration stamp set

    Today is the last day to earn a free exclusive Sale-A-Bration item. If you are on the fence about which free item to choose, I may help you decide on the Textures & Frames stamp set with three cards I have to show you. 

    For my first card design, I thought that the Textures & Frames stamp set paired well with the Penguin Playmates Sale-A-Bration DSP. They both have a playful feel to them. I had already snipped out some of the penguins from one of the sheets of Penguin Playmates DSP but had some Polar Bear parts that I wanted to use up. 

    For this particular Polar Bear, I cut out the top and bottom from different parts of the paper where the image was cut off and so I just hid the separation behind the Happy Birthday banner. 

    I was patting myself on the back after figuring out that one. Then it doesn’t hurt so much when I use all the potential cut-out parts from the 12” x 12” sheet of paper instead of writing it off as waste.

    I thought I would use my favourite blues to coordinate with the Polar Bear’s scarf. They were Misty Moonlight, Balmy Blue and the recently retired Seaside Spray In-Color ink. If you don’t have Seaside Spray, Pool Party could be an alternative colour.

    I adhered down the Polar Bear with Stampin’ Dimensionals to the stamped circle panel and tucked the Happy Birthday banner behind it. I glued down the stamped panel to a piece of Misty Moonlight card stock to give it a frame and then glued that to a card base.

    Fox, penguin & snowman peekaboo card

    I wanted to try multi-generation stamping with the different stamp designs in the Textures & Frames set. I chose colours based on another sheet of paper in the Penguin Playmates DSP that had the fox, snowman and a penguin that could also be cut out.

    Multi-generation stamping is when you stamp an ink colour either direct to paper (most common) or stamp-off once to a scrap paper and use the ink left on the stamp. If you use a darker ink colour, you can get a third-generation stamped image. 

    I used first and second-generation stamping with the ink colours Fresh Freesia, Soft Sea Foam and Balmy Blue. I used a circle die to cut out the center of each area of colour and tucked in the characters to make it look like they were popping out to say, “Happy Birthday!”

    The Happy Birthday sentiment came from the Artistically Inked stamp set.  I used Calypso Coral ink for the sentiment to match the fox and pull that colour in elsewhere on the card.

    Layering textures for a masculine birthday card 

    I was very happy with the combination of blue colours from the first card and wanted to try layering the thick and thin brush strokes stamps. 

    The Stamparatus came in handy for this one. I lined up the stamp in the swinging panel, and after stamping, I would take it off and move it up one or two spots and stamp again. I tried different variations of stamps and colours on a few sheets of paper. Some I stamped right off the top and bottom of the card panel and on some I stayed within the frame.

    For this card, I went off the top and bottom so I decided to cut two thin strips of Misty Moonlight cardstock and glued them to the left and right edges to enhance the vertical feel.

    I stamped the largest birthday greeting from the Happiest of Birthdays stamp set with Versamark on Misty Moonlight card stock. I covered the Versamark with white embossing powder and melted it with my heat tool. I didn’t want to cover up too much of the stamping so I cut around the sentiment instead of trimming it to a rectangle. I popped the sentiment up with Stampin’ Dimensionals and the card was complete. 

    If you are interested, the Textures & Frames stamp set is currently free with a $60 order from my online store until midnight tonight. To learn more about the Sale-A-Bration items or how this promotion works, visit my What is Sale-A-Bration and how do I get free items post.

    If you have any questions regarding the supplies or measurements, be sure to leave a comment below or contact me and I will gladly help you out! 
    Remember to tag me (@creativeblendwithdawn) on social media if you make any of these card designs. I would love to see them.

    Until the next one, Dawn

    Creative Blend Newsletter

    Stay inspired and subscribe to receive updates from the blog, upcoming card classes, events and crafty sales straight to your email.

    Find me on social media

    Stay connected with me online and see even more creative inspiration I’m sharing!